
A Guide to Deploying Your First Lambda Rest API In Node (part 2)
Deploying Our Rest API
Introduction
Now we reach what is in my opinion the most complex and tedious part of our Rest API as there is so much configuration to do. In the last post, we covered how to build and set up a Lambda function. In this post, we'll cover how to build and set up an API Gateway so our front end can access our function.
Setting Up Our API
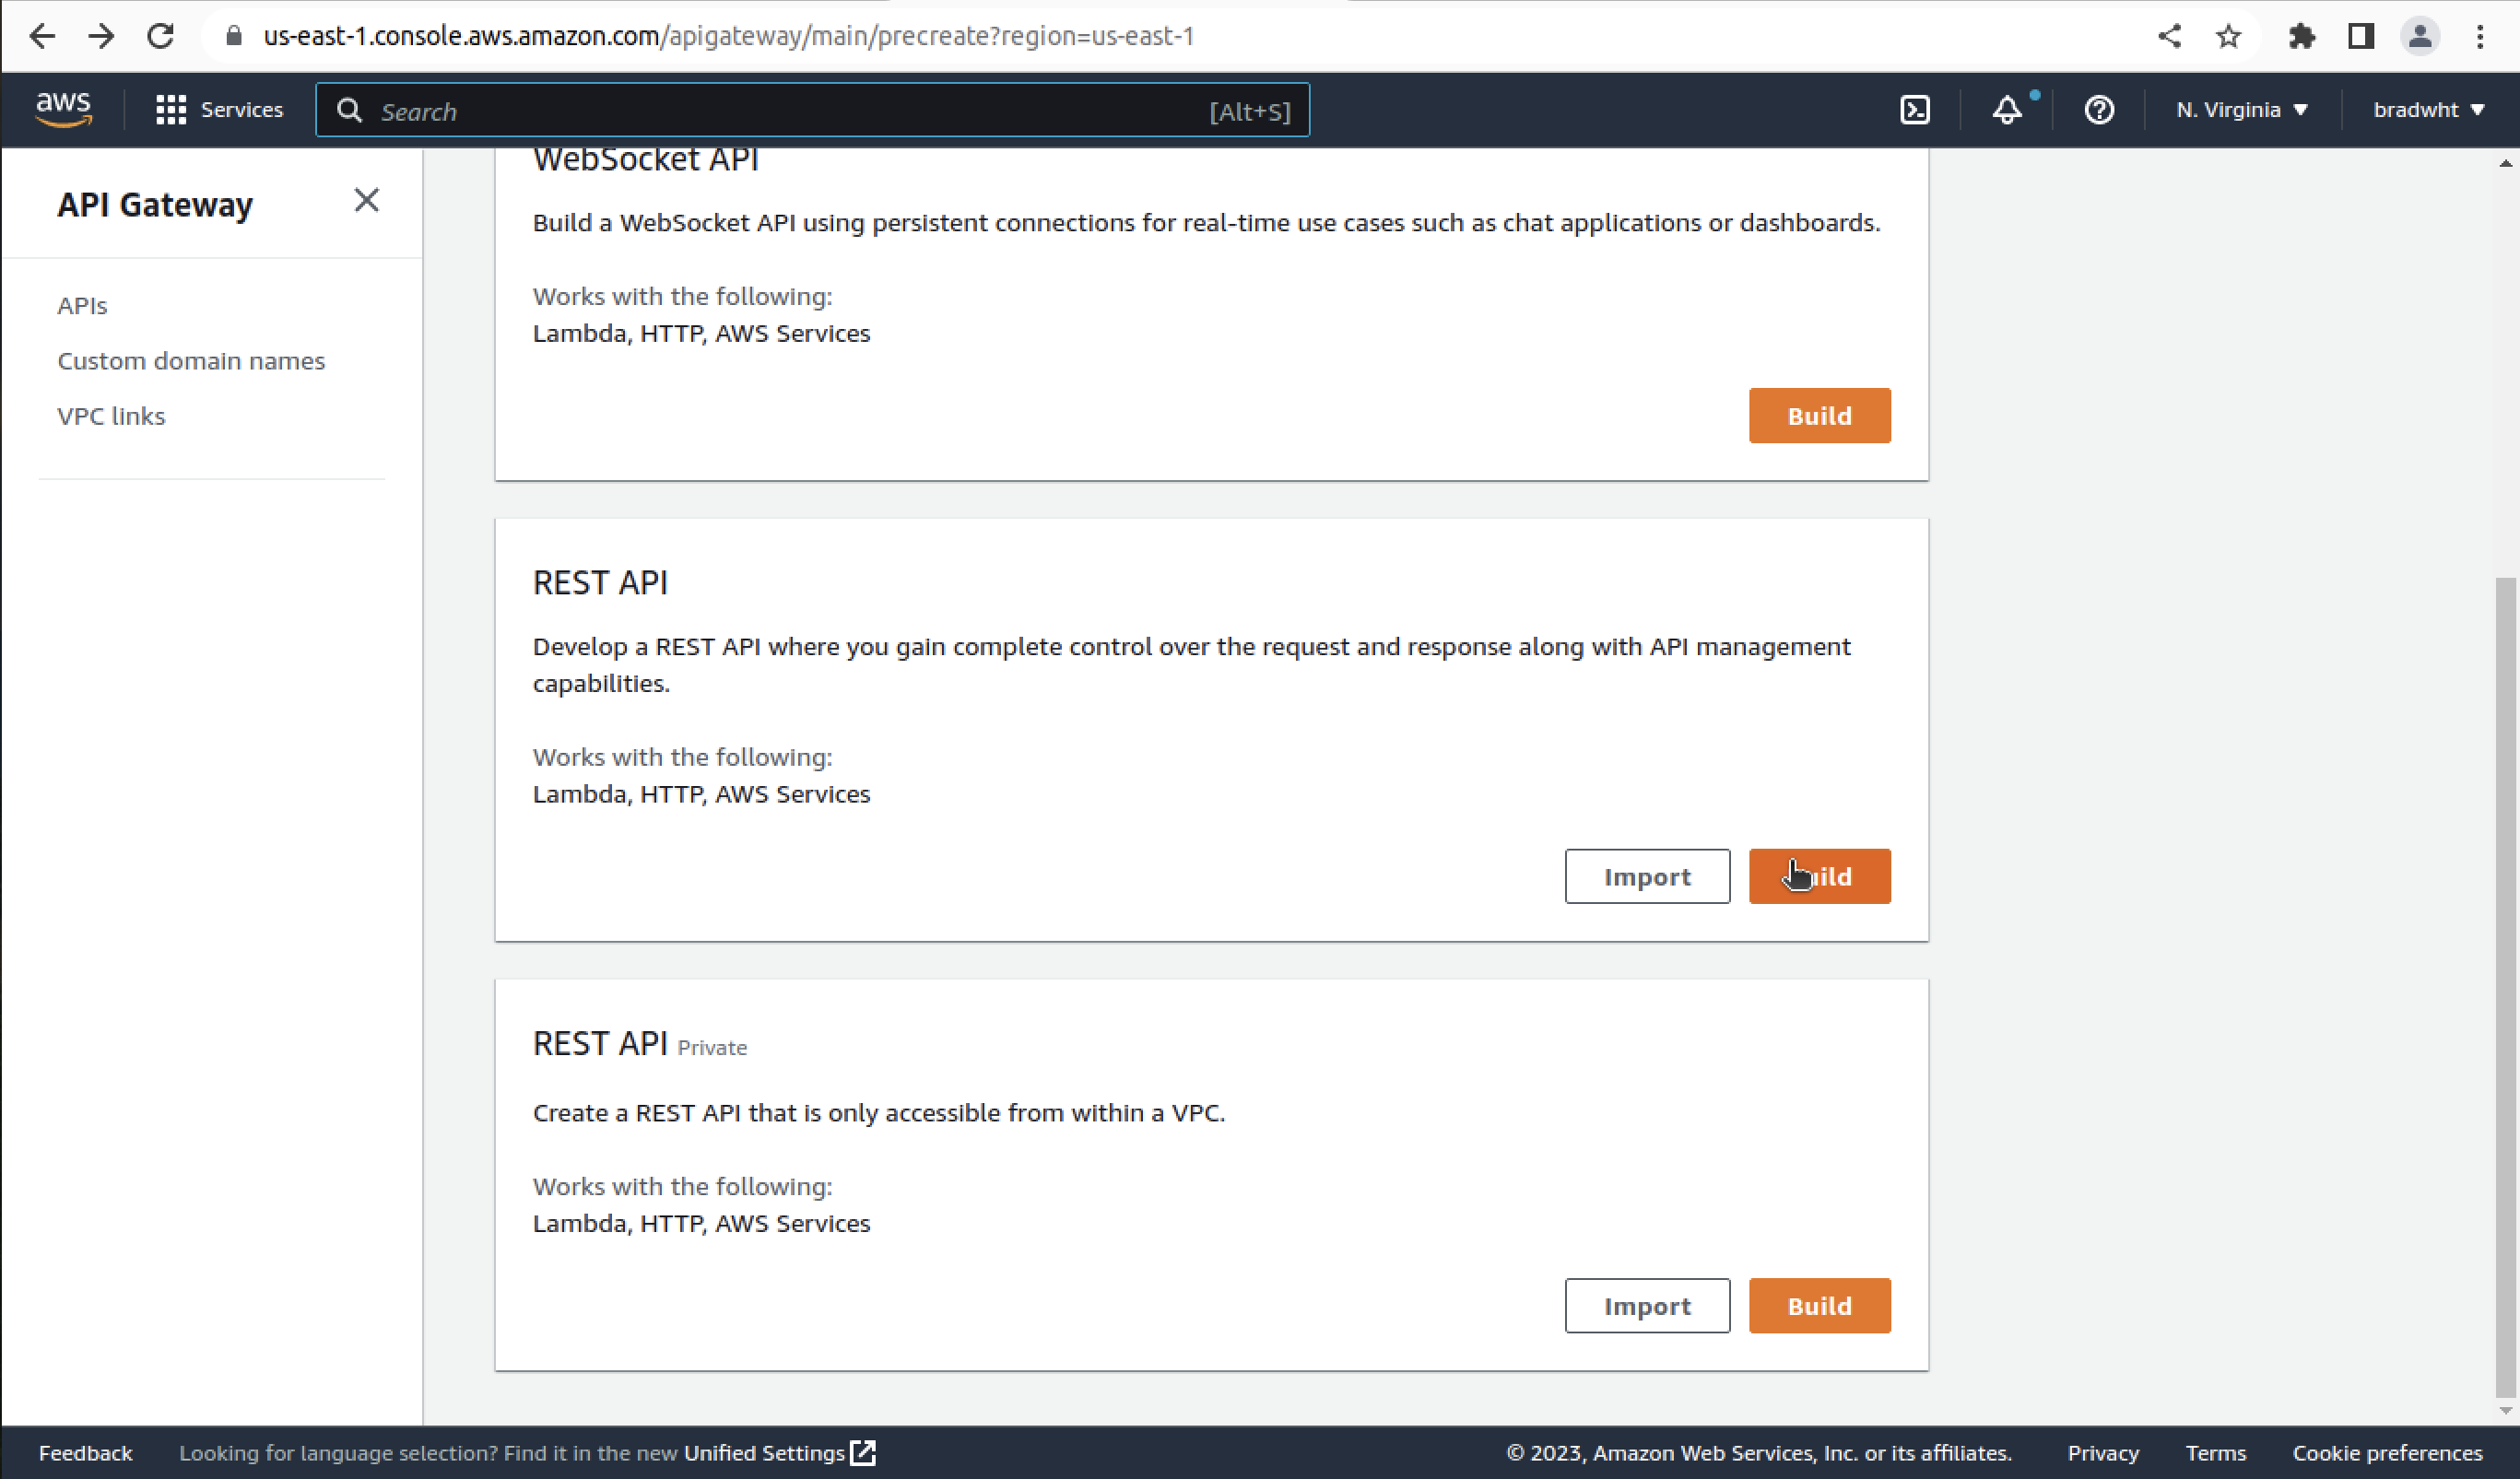
Sign in to the API Gateway console at https://console.aws.amazon.com/apigateway. If this is your first time using API Gateway, you will see a page that introduces you to the features of the service. If so under 'REST API', click on 'Build'. When the 'Create Example API' popup appears, choose 'OK'. If this is not your first time using API Gateway, click on 'Create API'. Then under 'REST API', click on 'Build'.
Building Our API Gateway
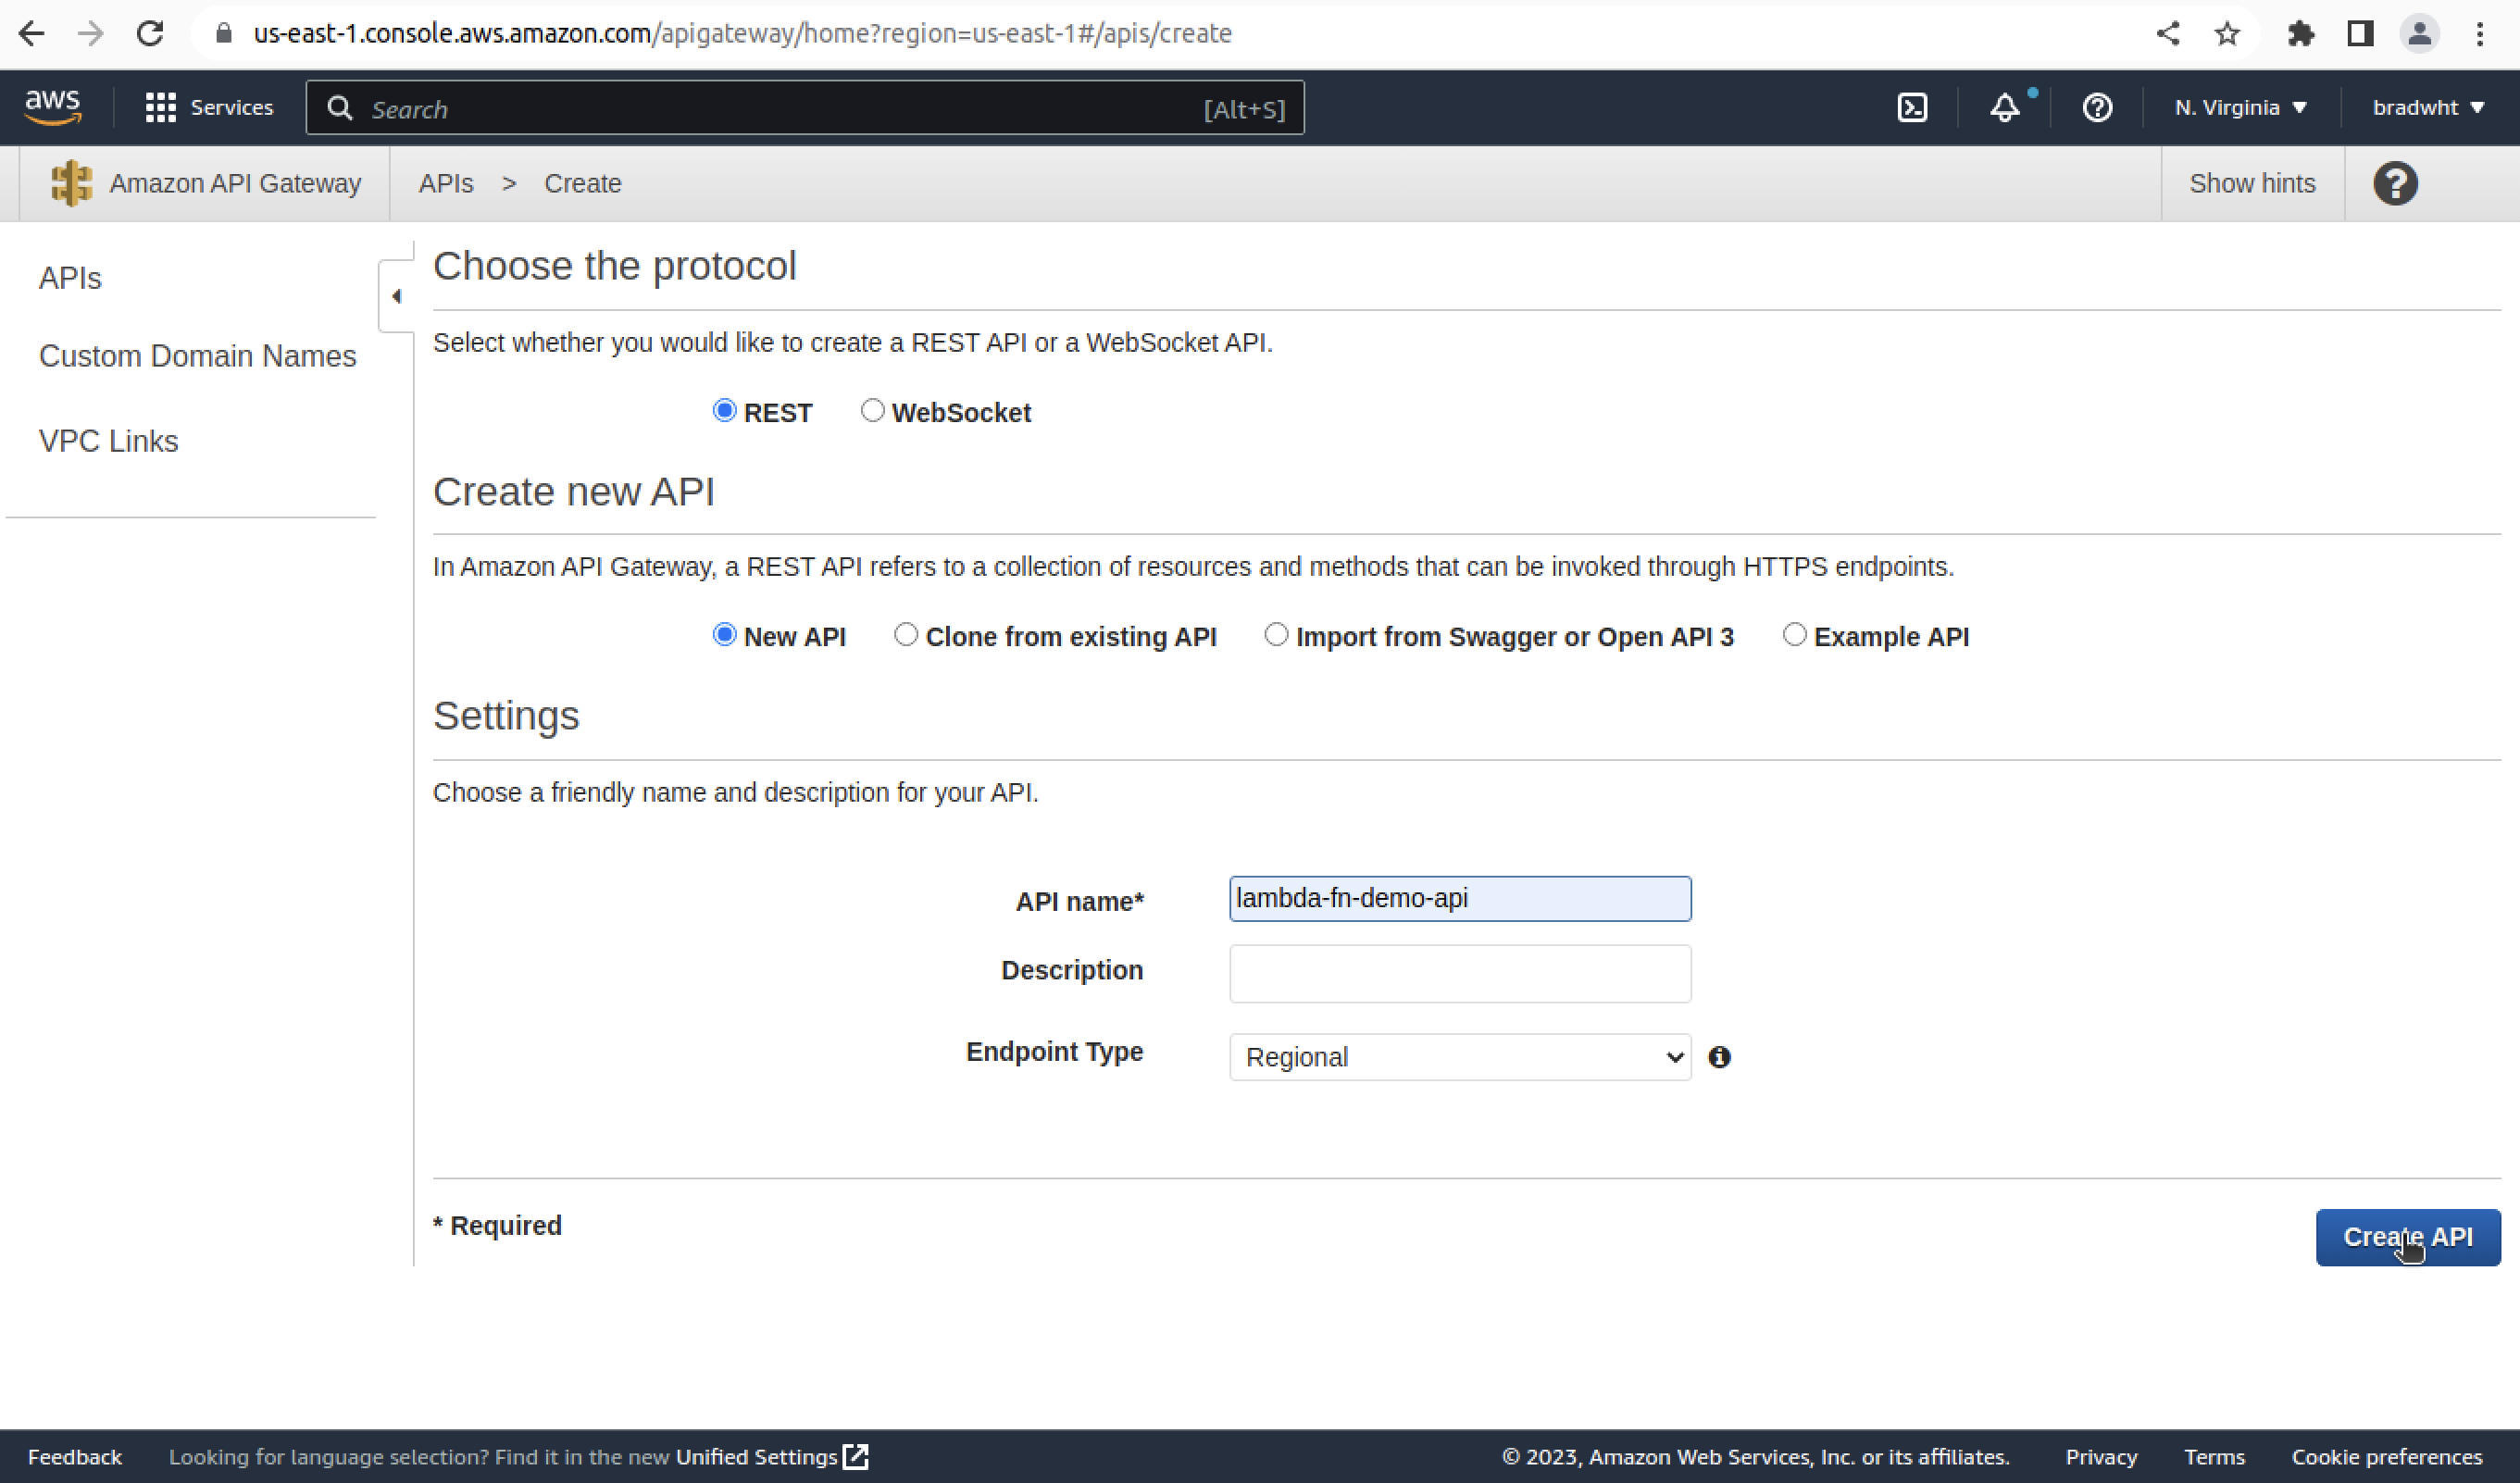
Leave 'Choose the protocol' and 'Create new API' as they are. In settings set 'API name' to 'lambda-fn-demo-api'. Then click on 'Create API' on the bottom right.
Building Our Resource
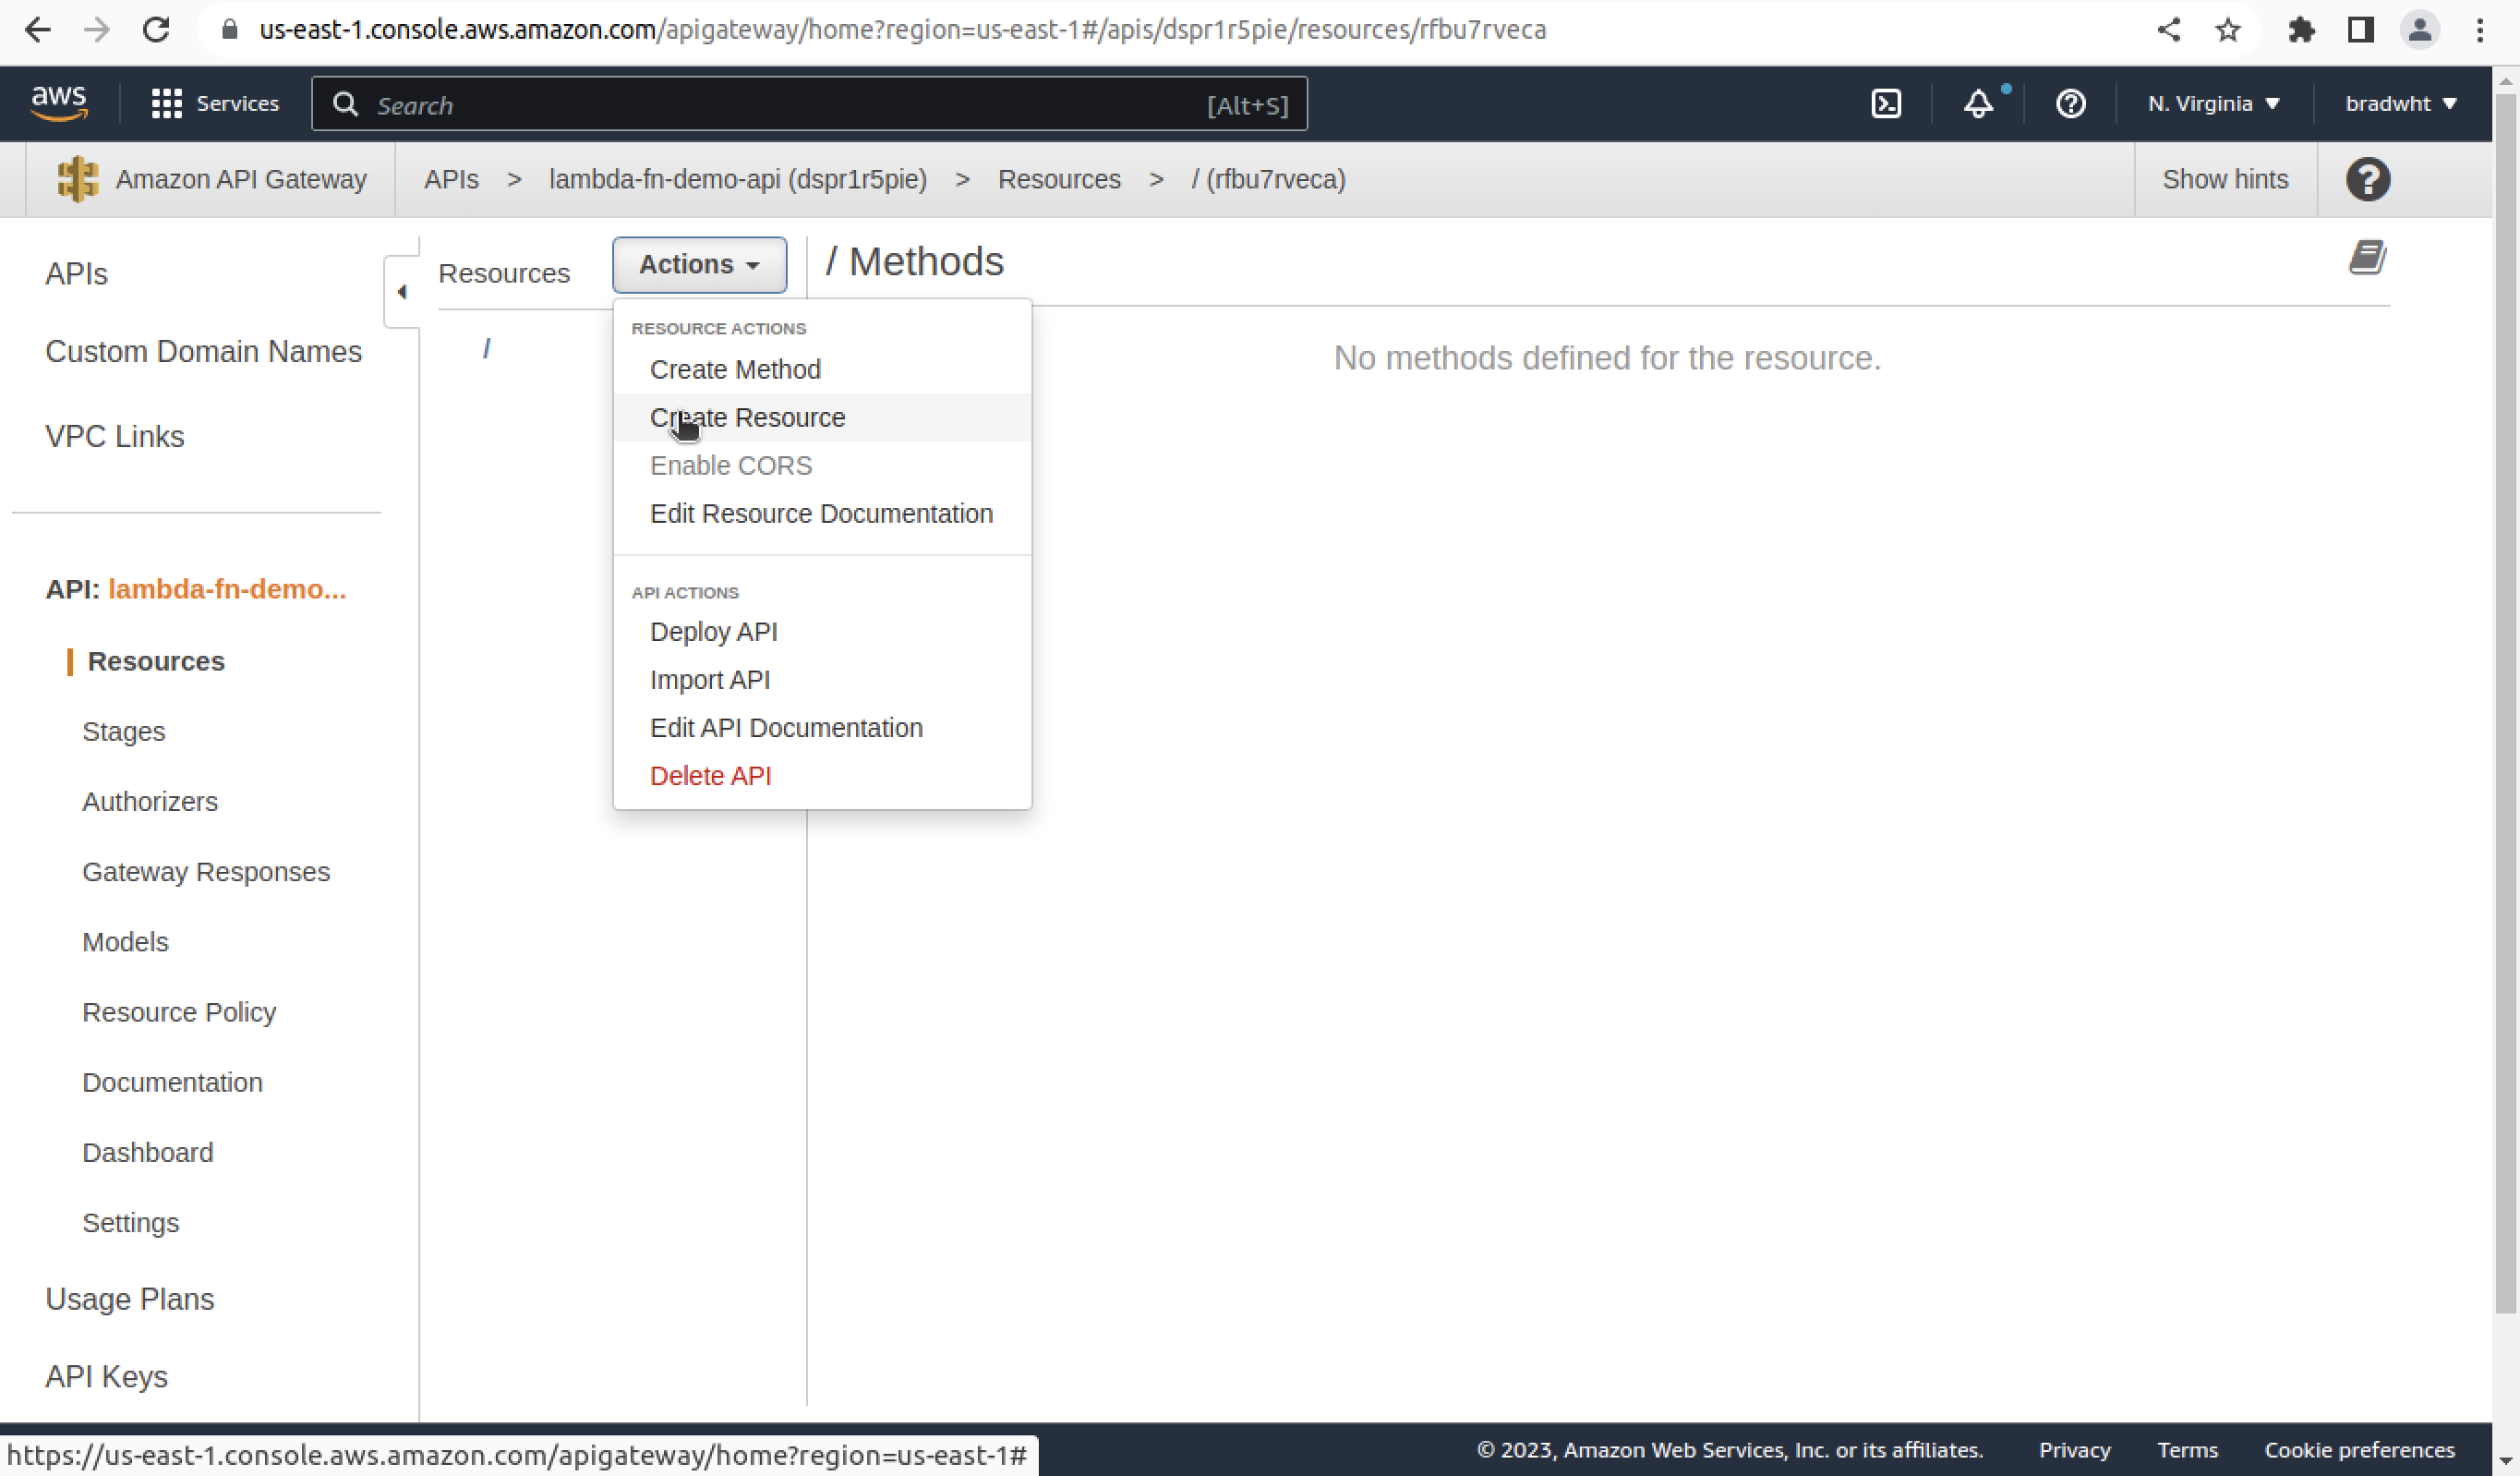
Next to resources click on the 'Actions' dropdown and on the 'Create Resource' option.
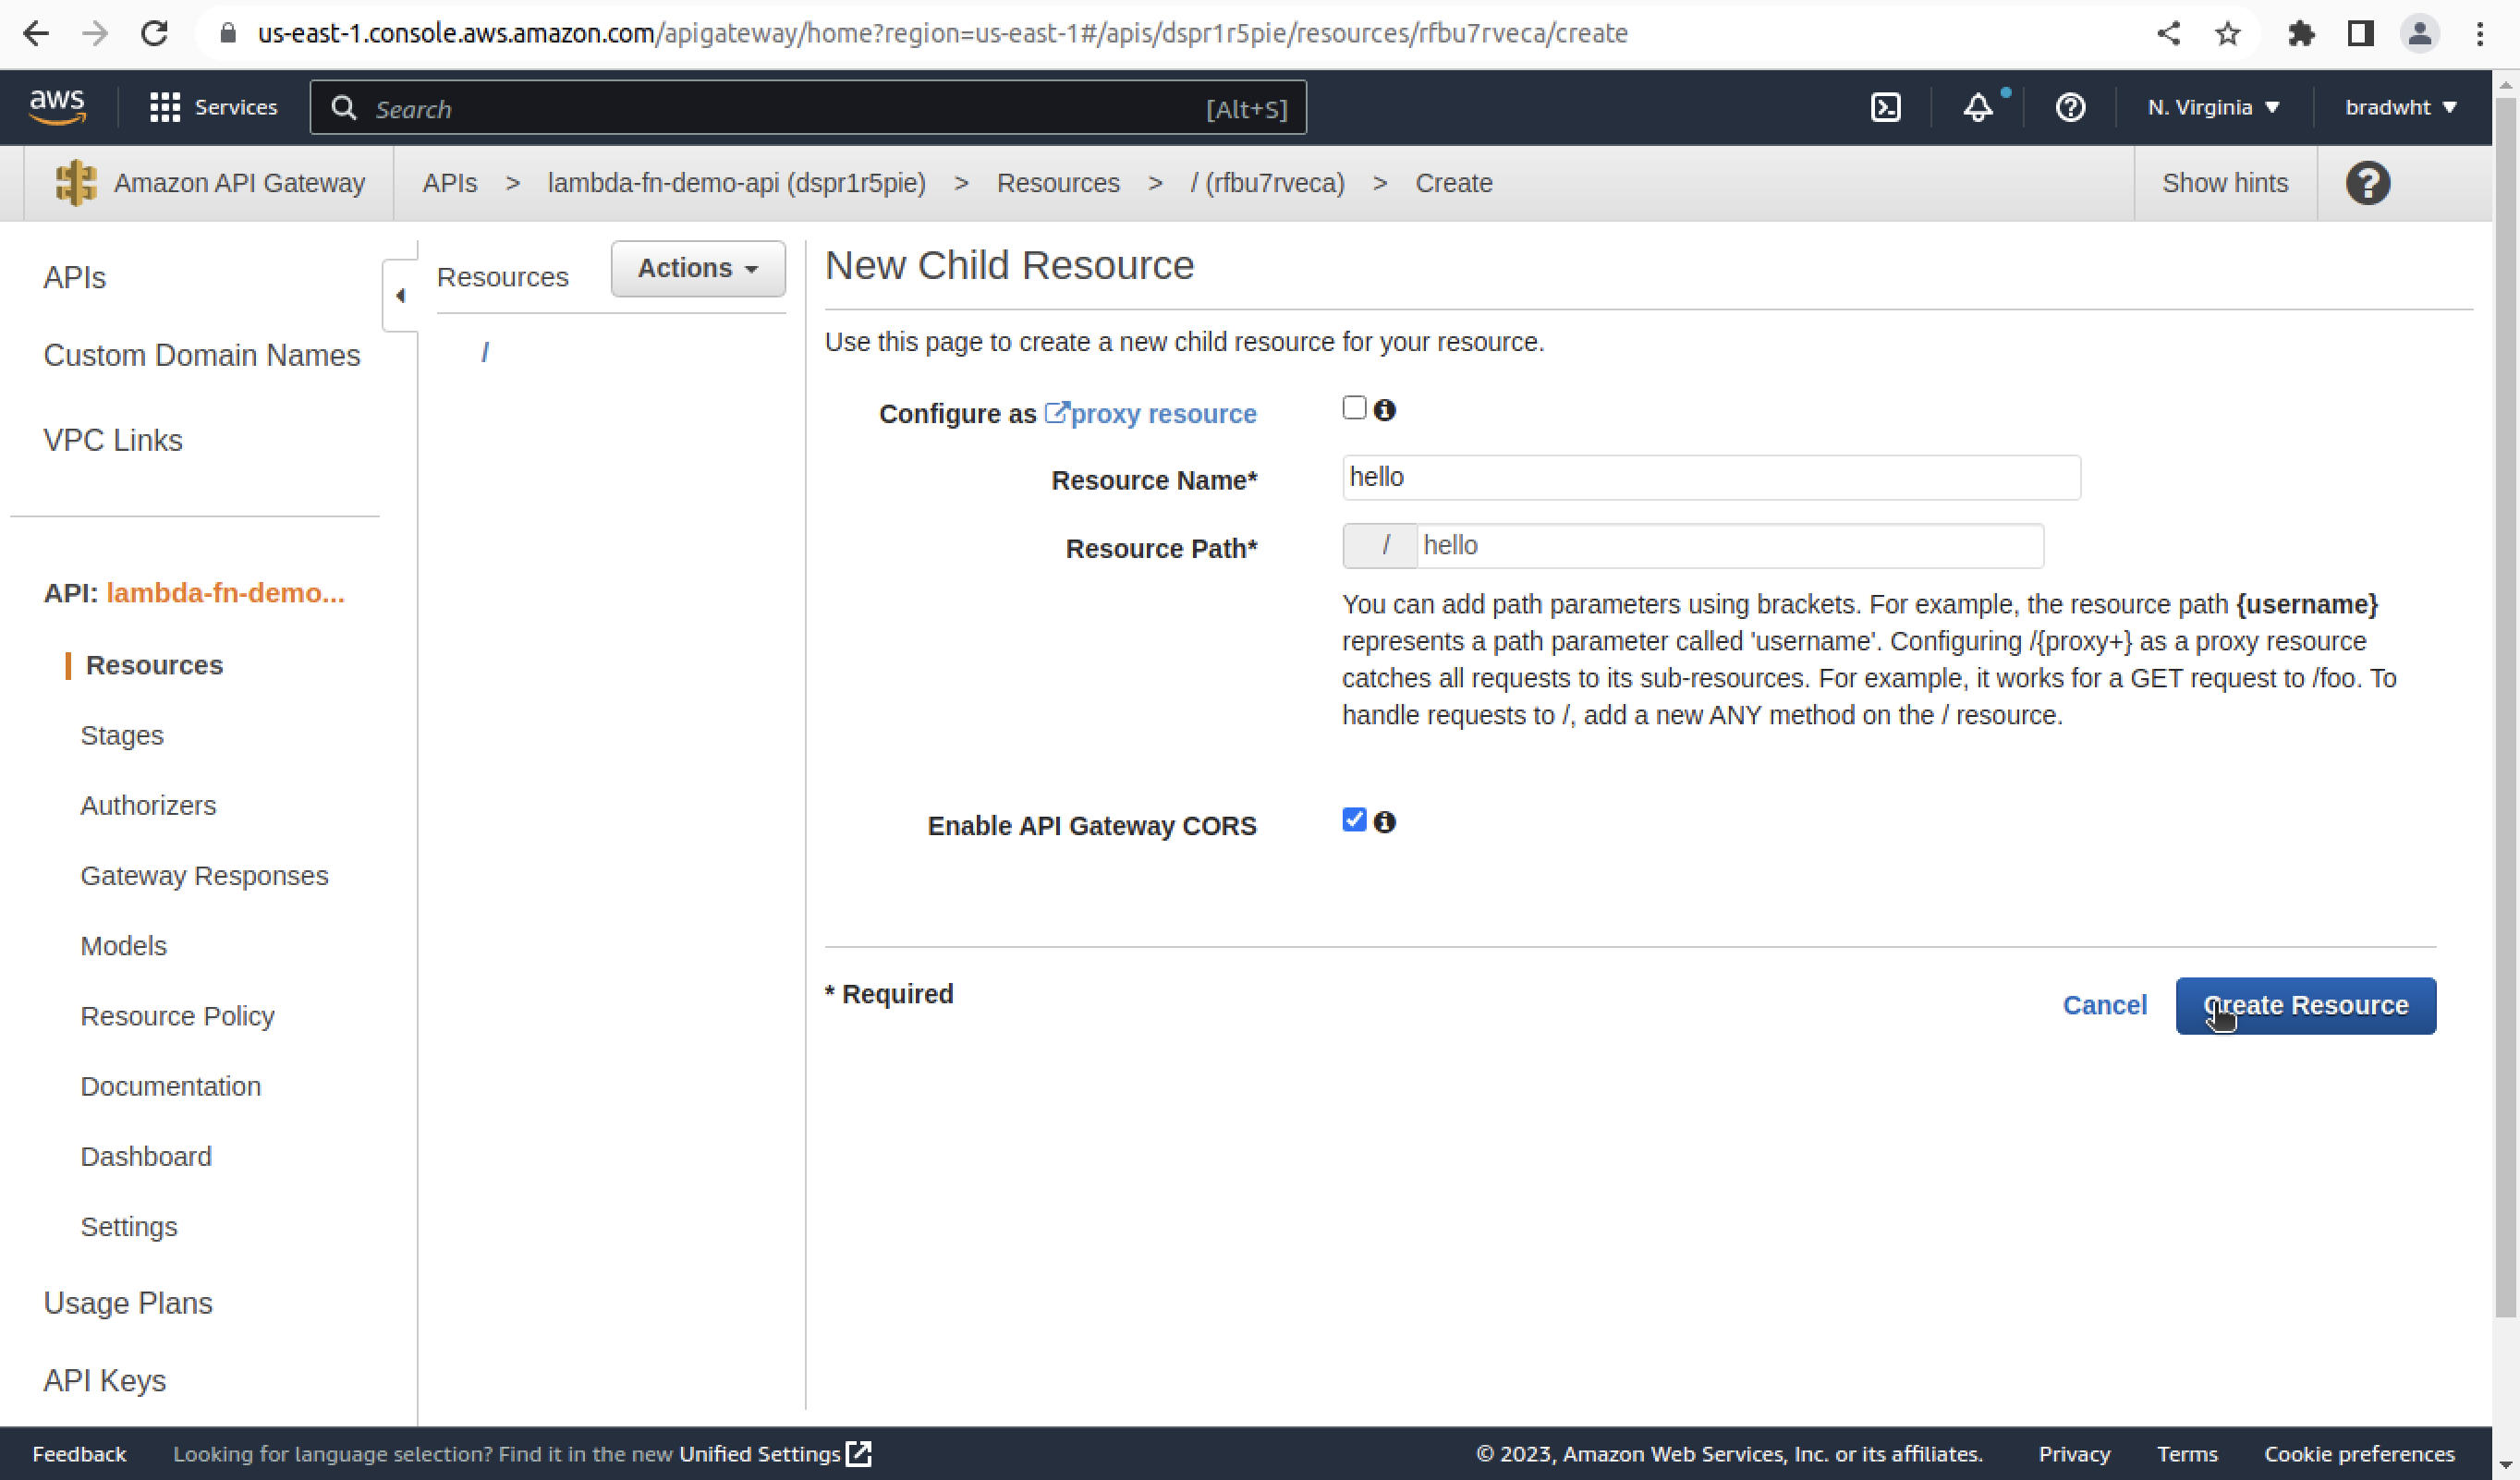
Now fill in the information under 'New Child Resource'. Set 'Resource Name' to 'hello'. This will be the path name for our API route. Tick the 'Enable API Gateway CORS' box.
Creating Our Method
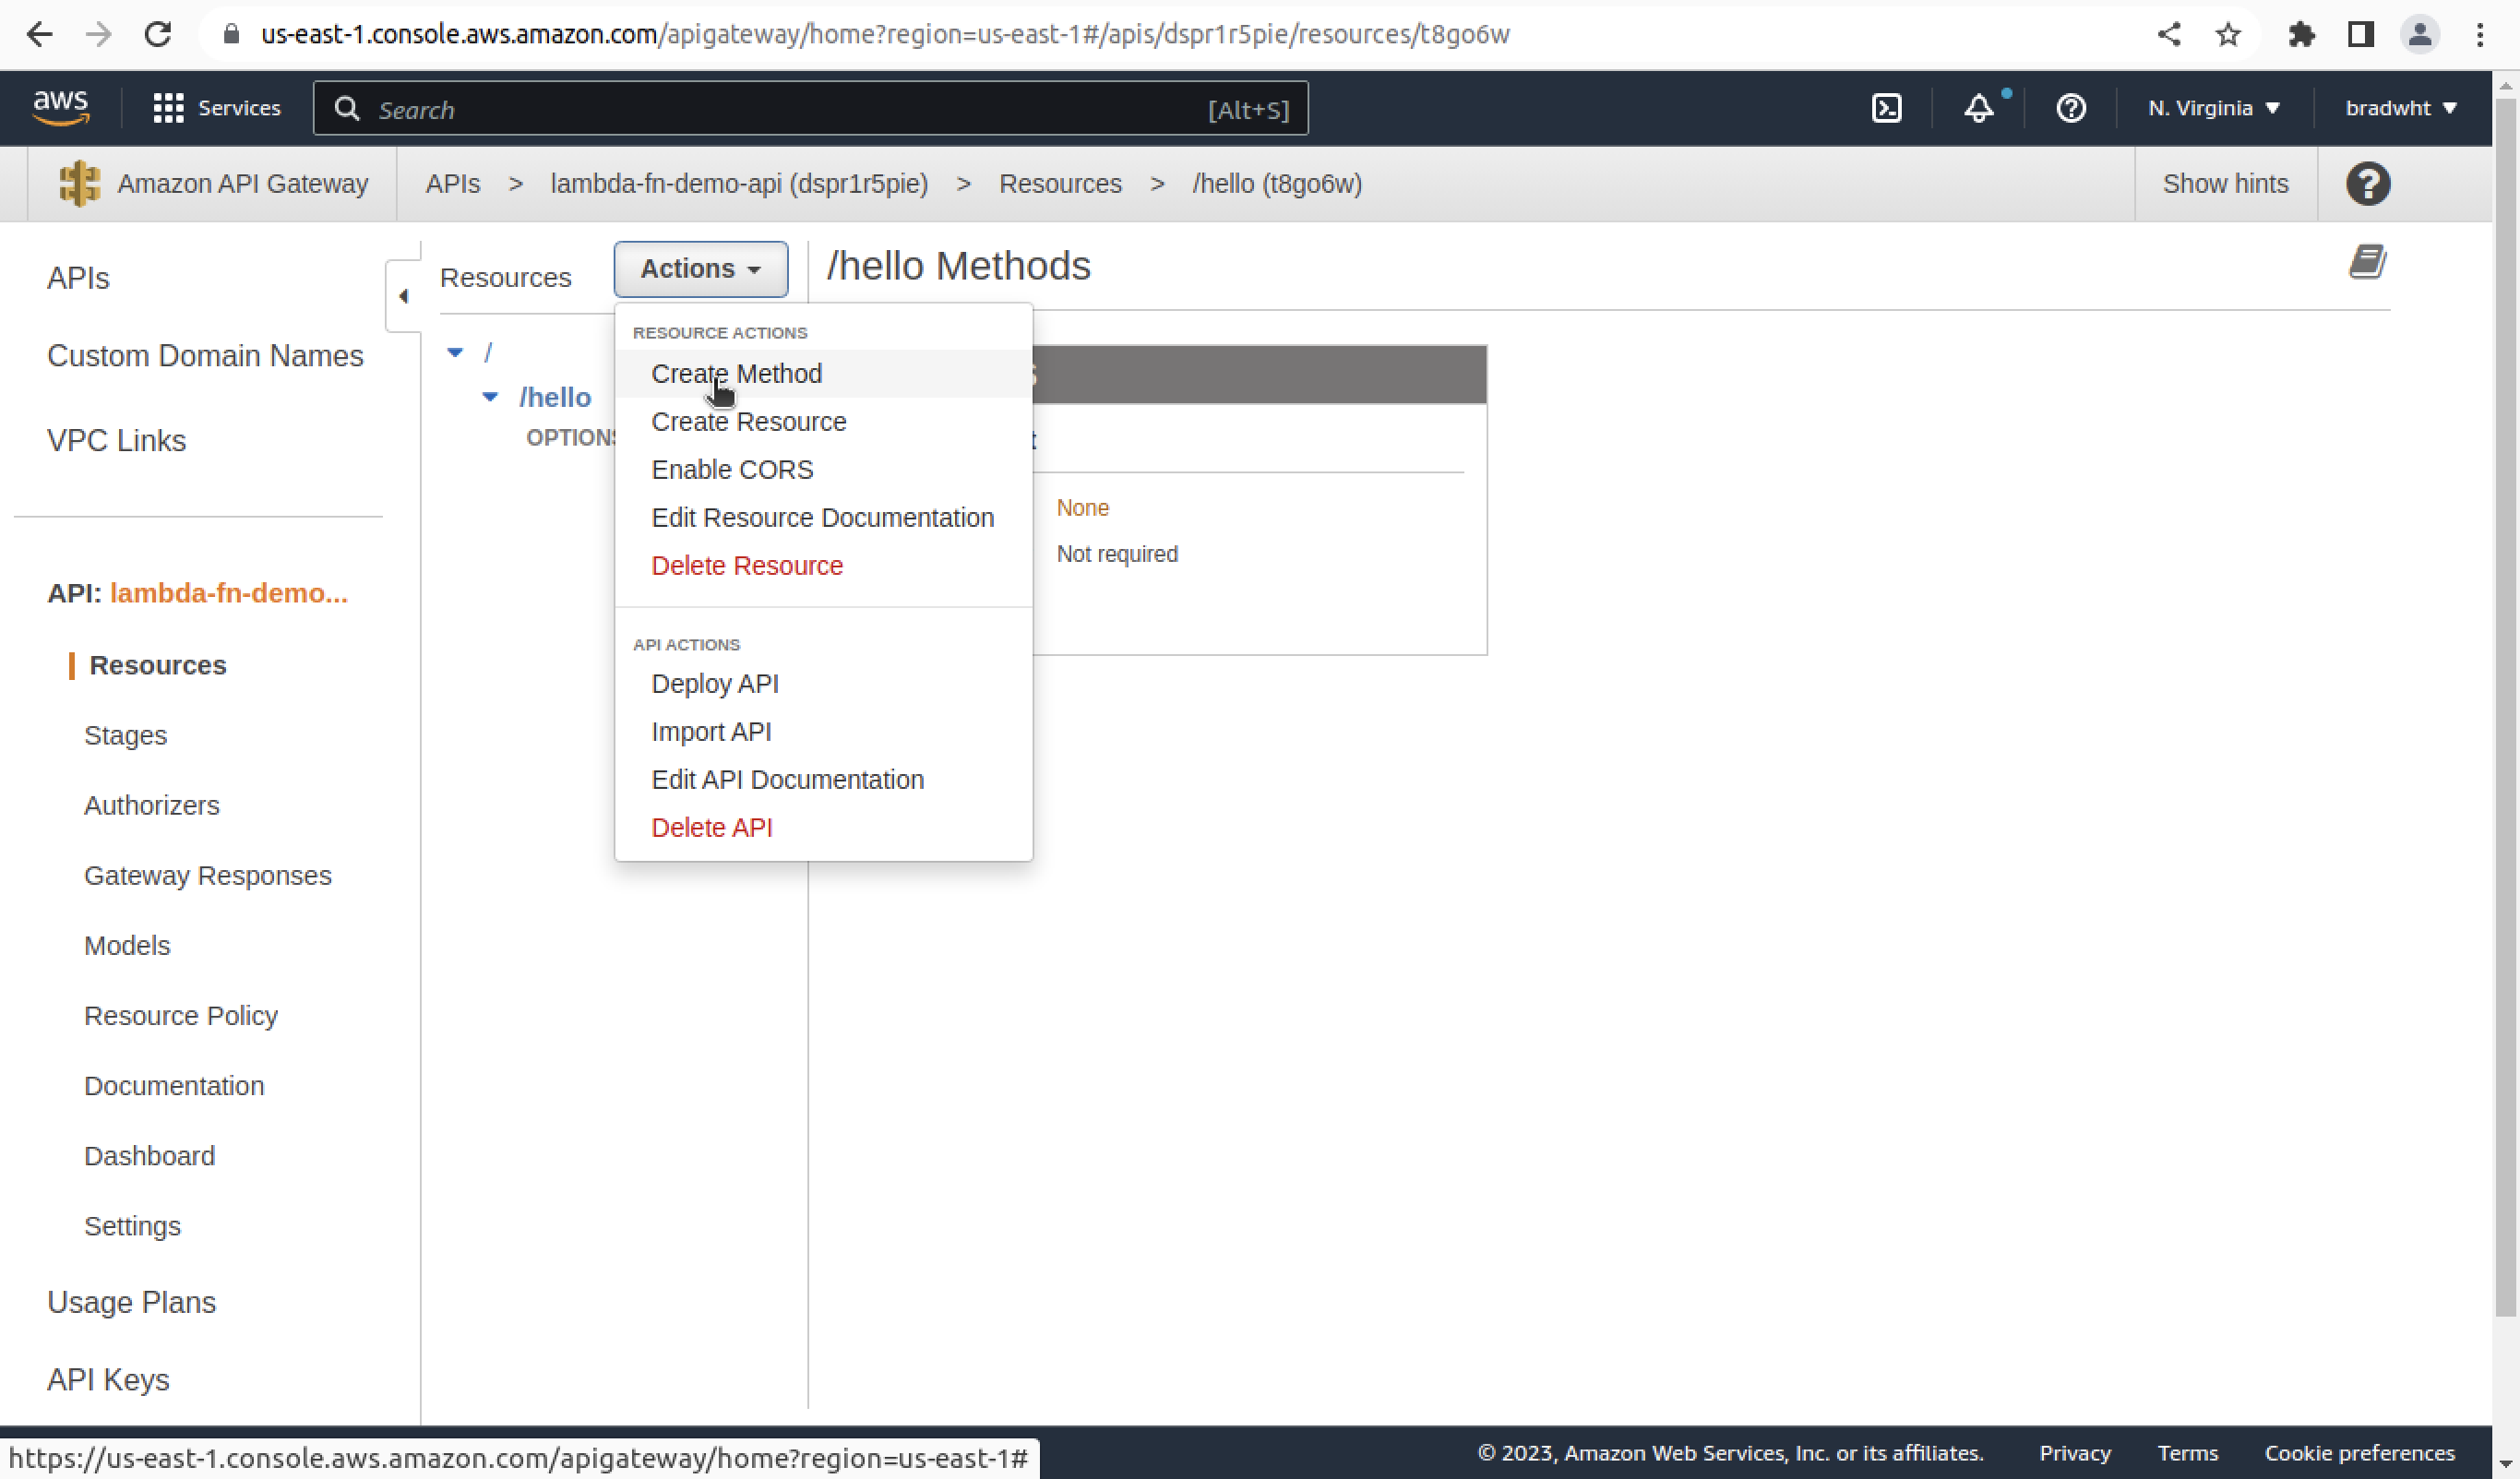
Next to resources click on the 'Actions' dropdown and on the 'Create Method' option.
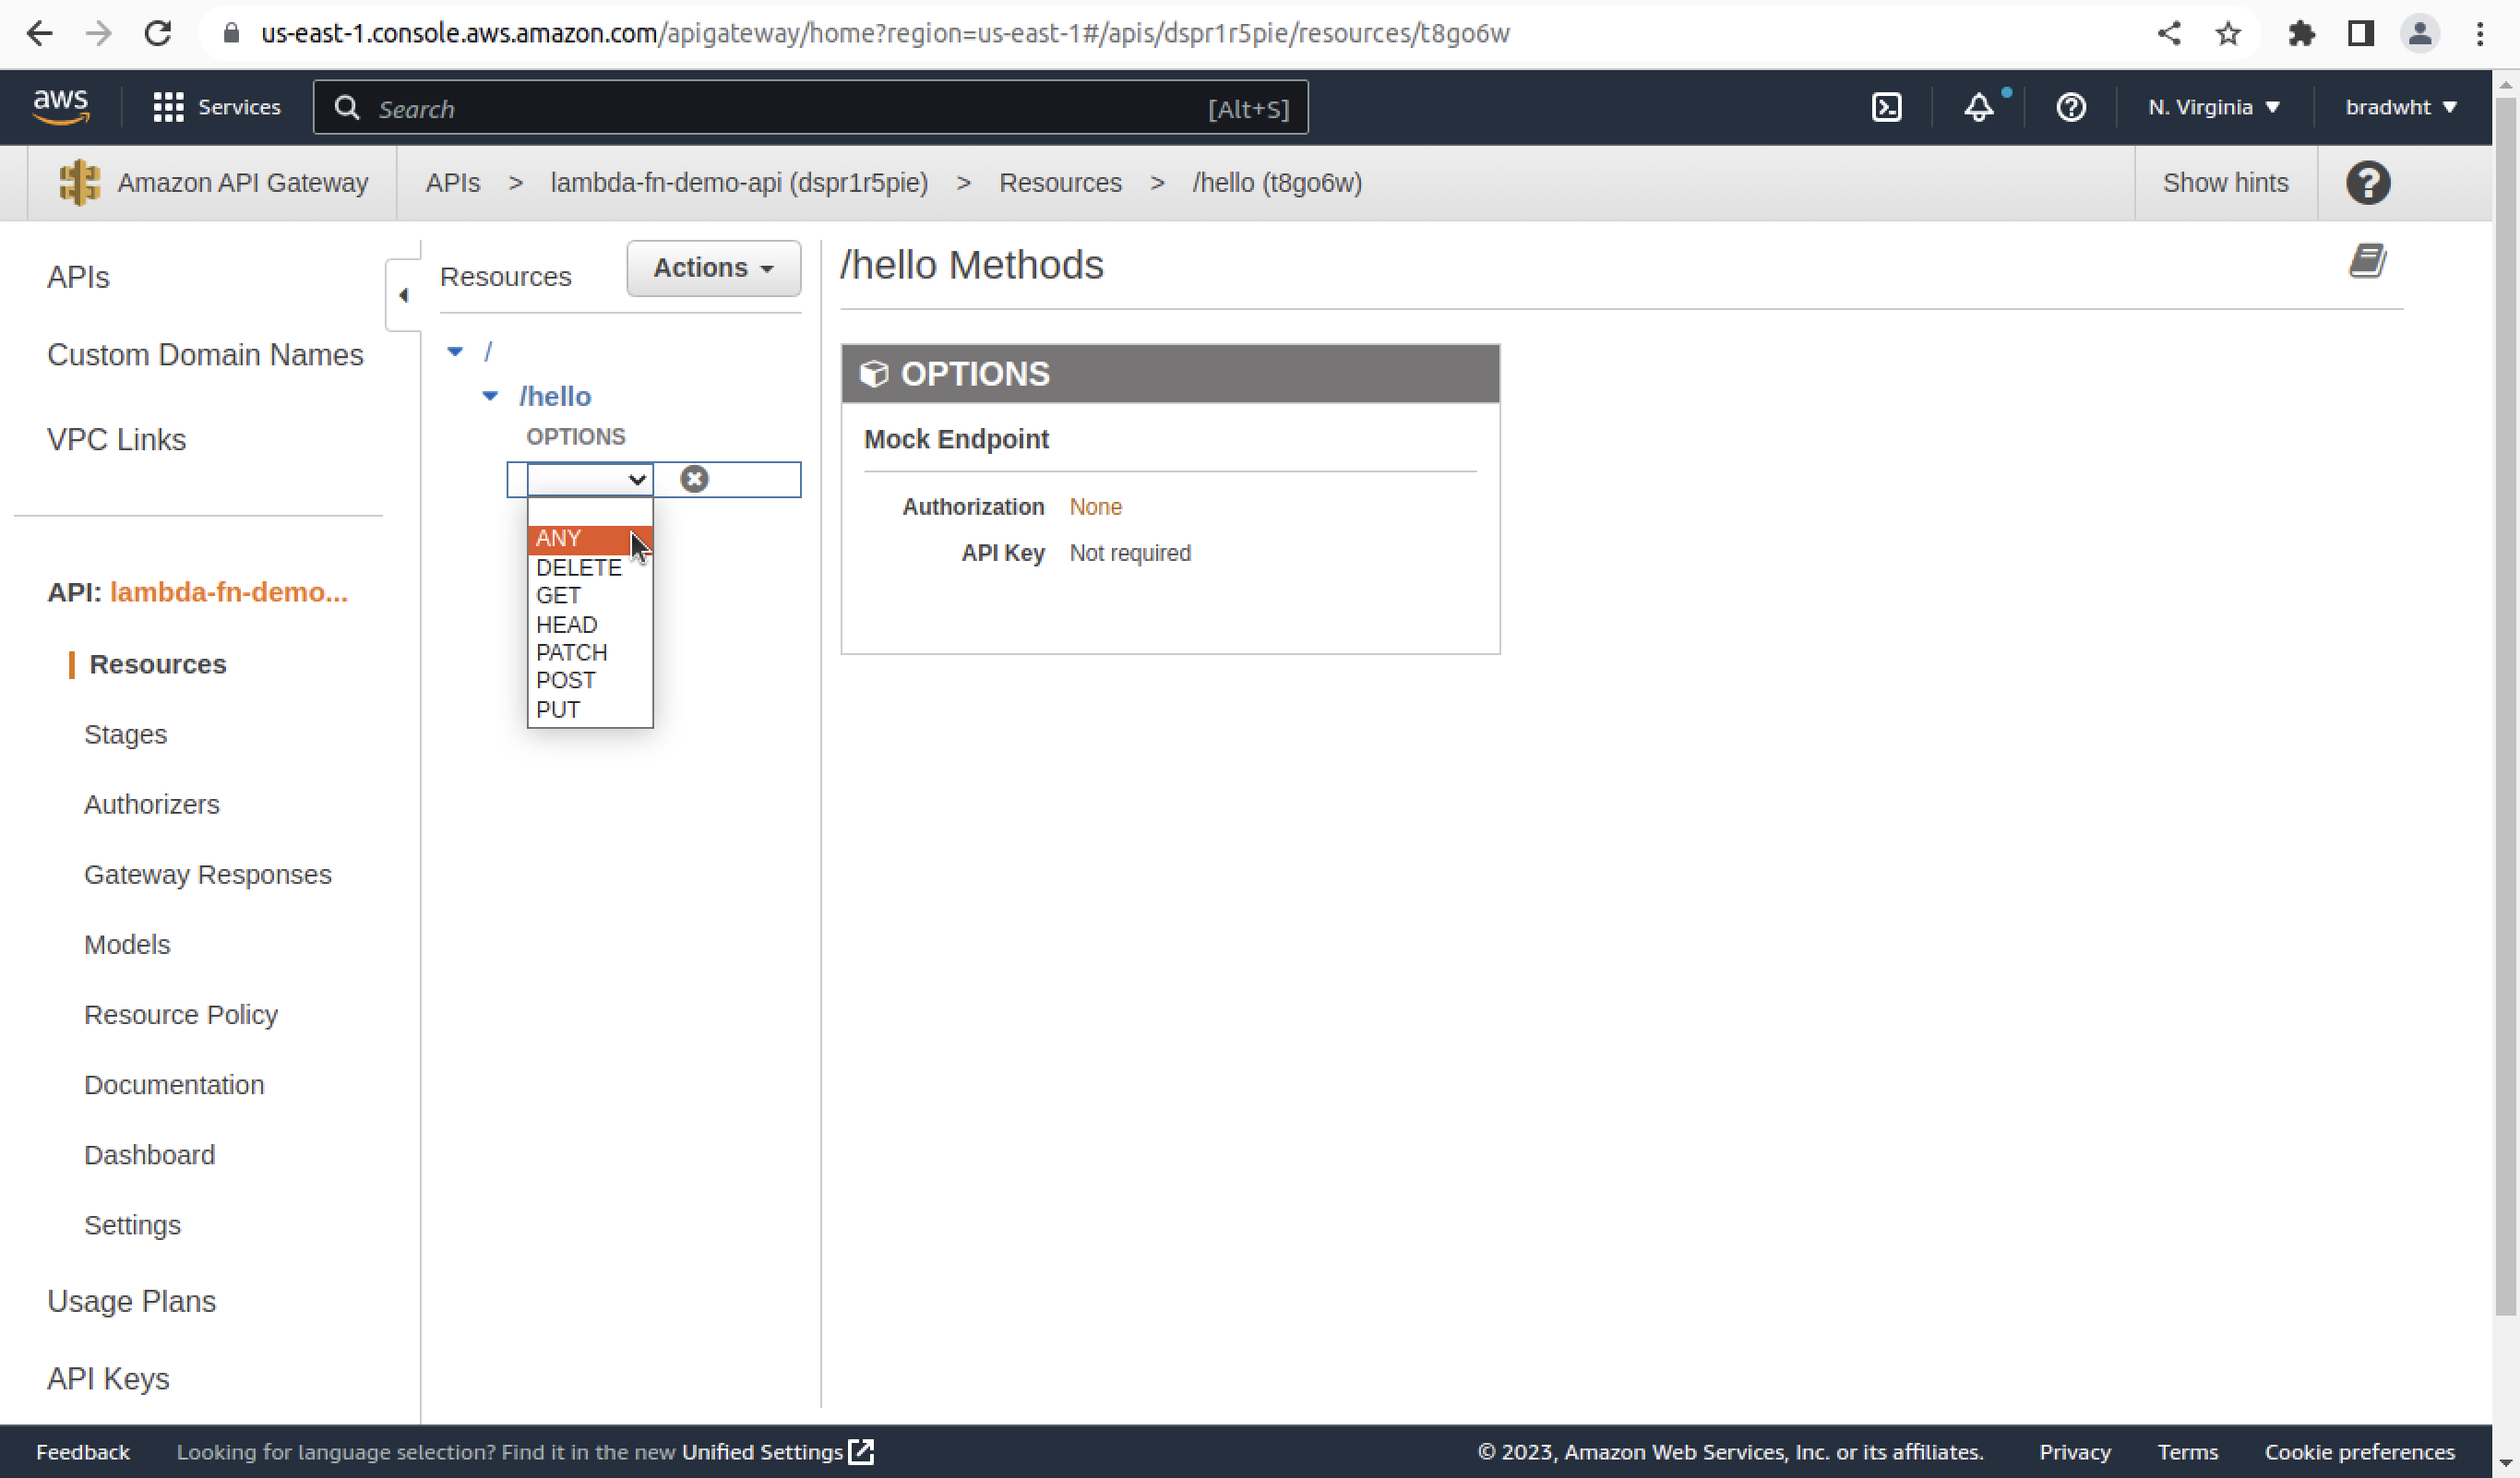
This will add a dropdown with an 'x' symbol next to it. Click on the dropdown and the 'ANY' option. picture of 'any dropdown option'.
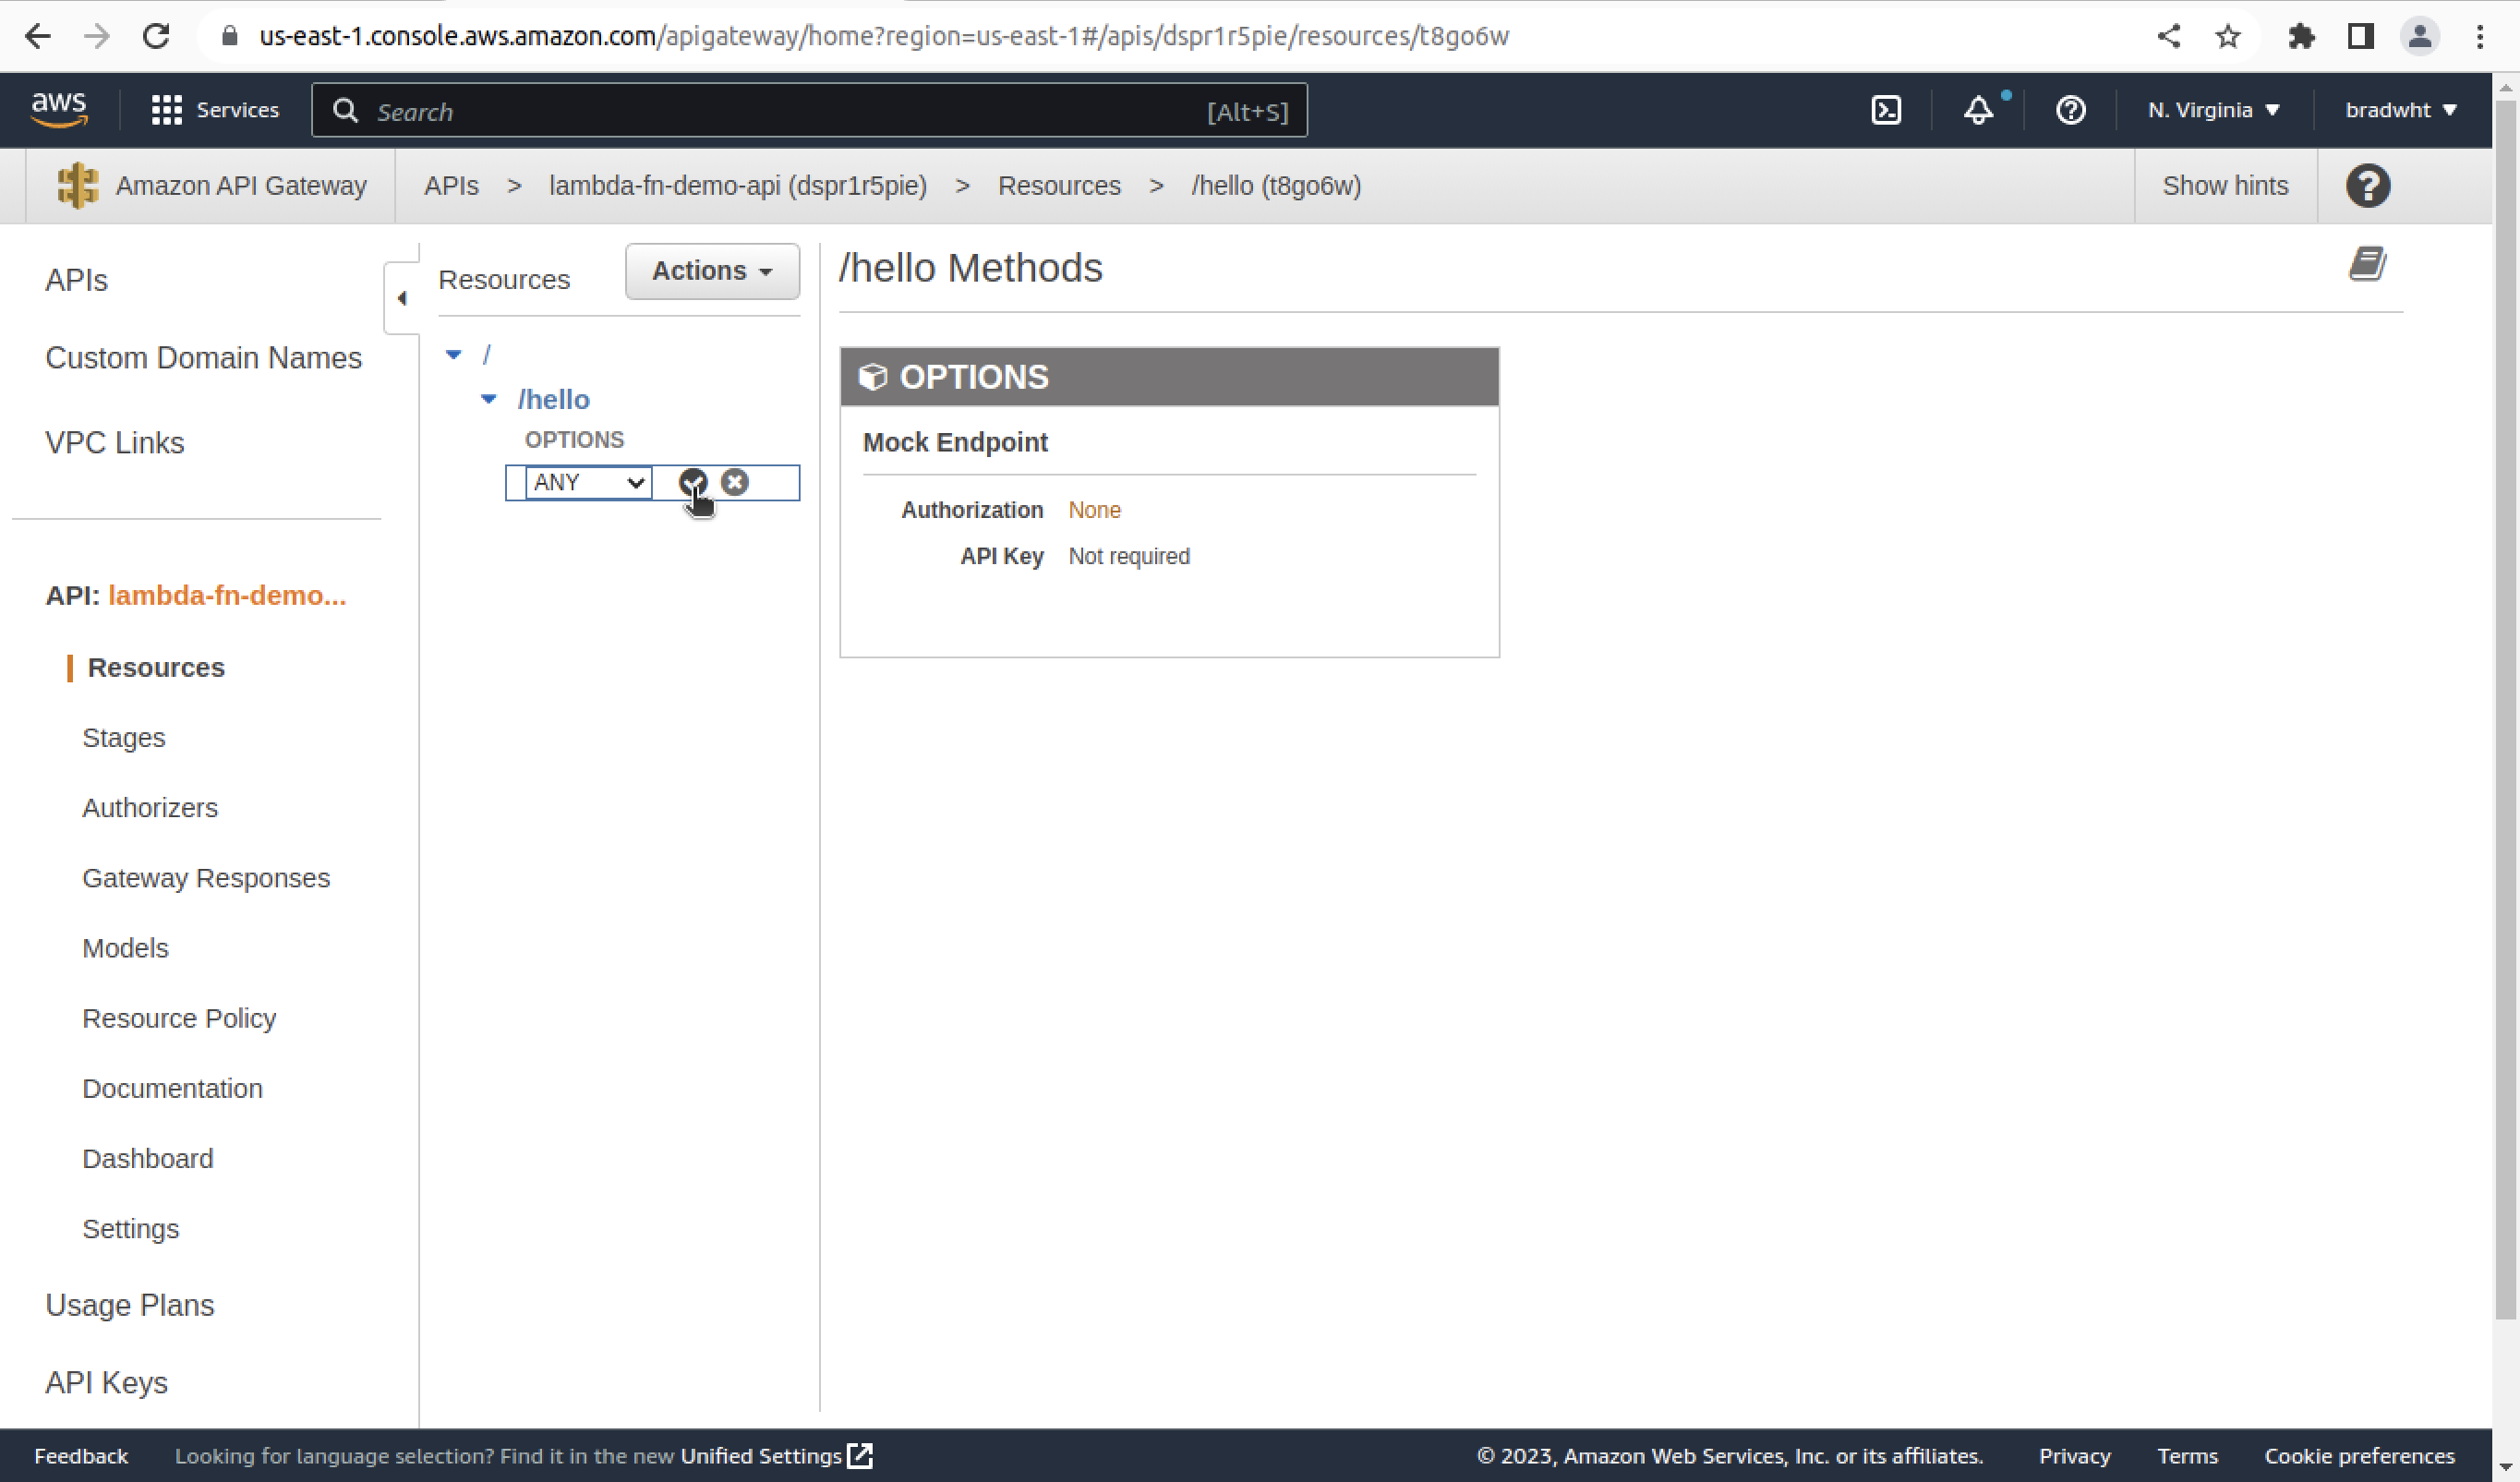
Then click on the check mark that is now added next to it. picture of 'checkmark'.
Setting Up Our Method
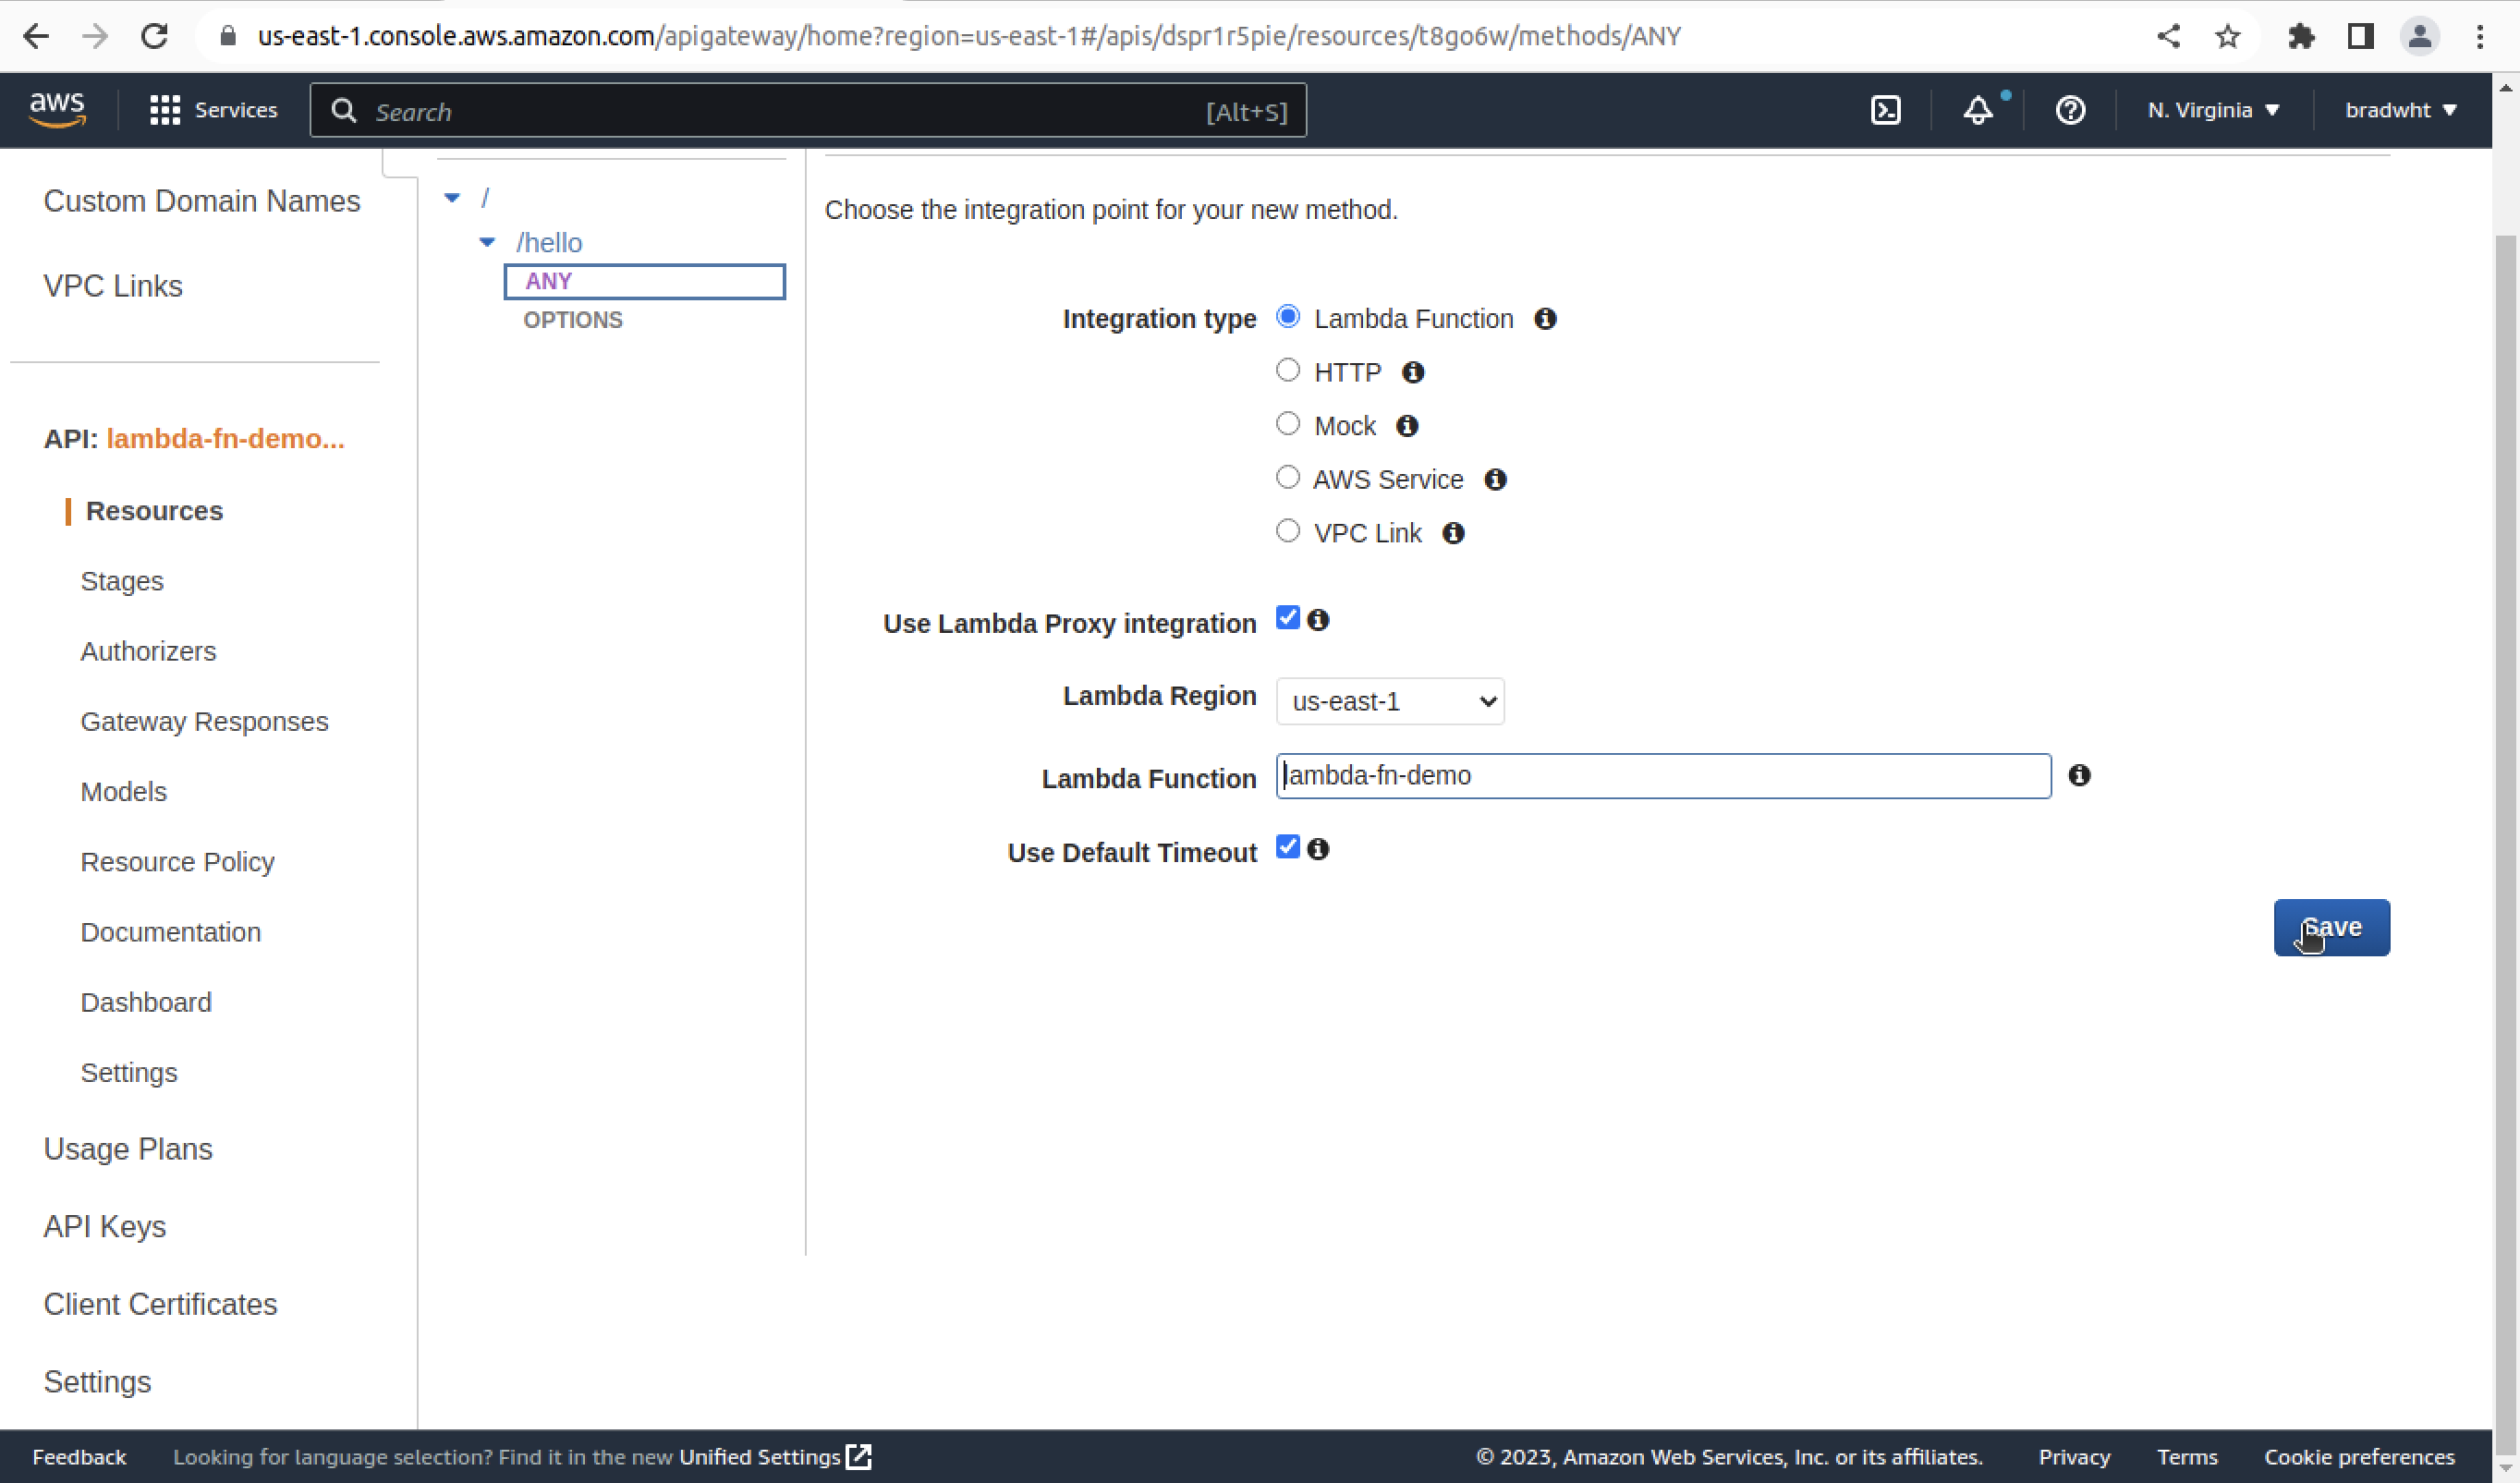
This will bring up the setup page for the '/hello' method. Leave the 'Integration Type' set to 'Lambda Function'. Check the 'Use Lambda Proxy integration' box. Type in 'lambda-fn-demo' by 'Lambda Function'. Click on the 'Save' button at the bottom right.
This will bring up a confirmation window. Click on the 'agree' button.
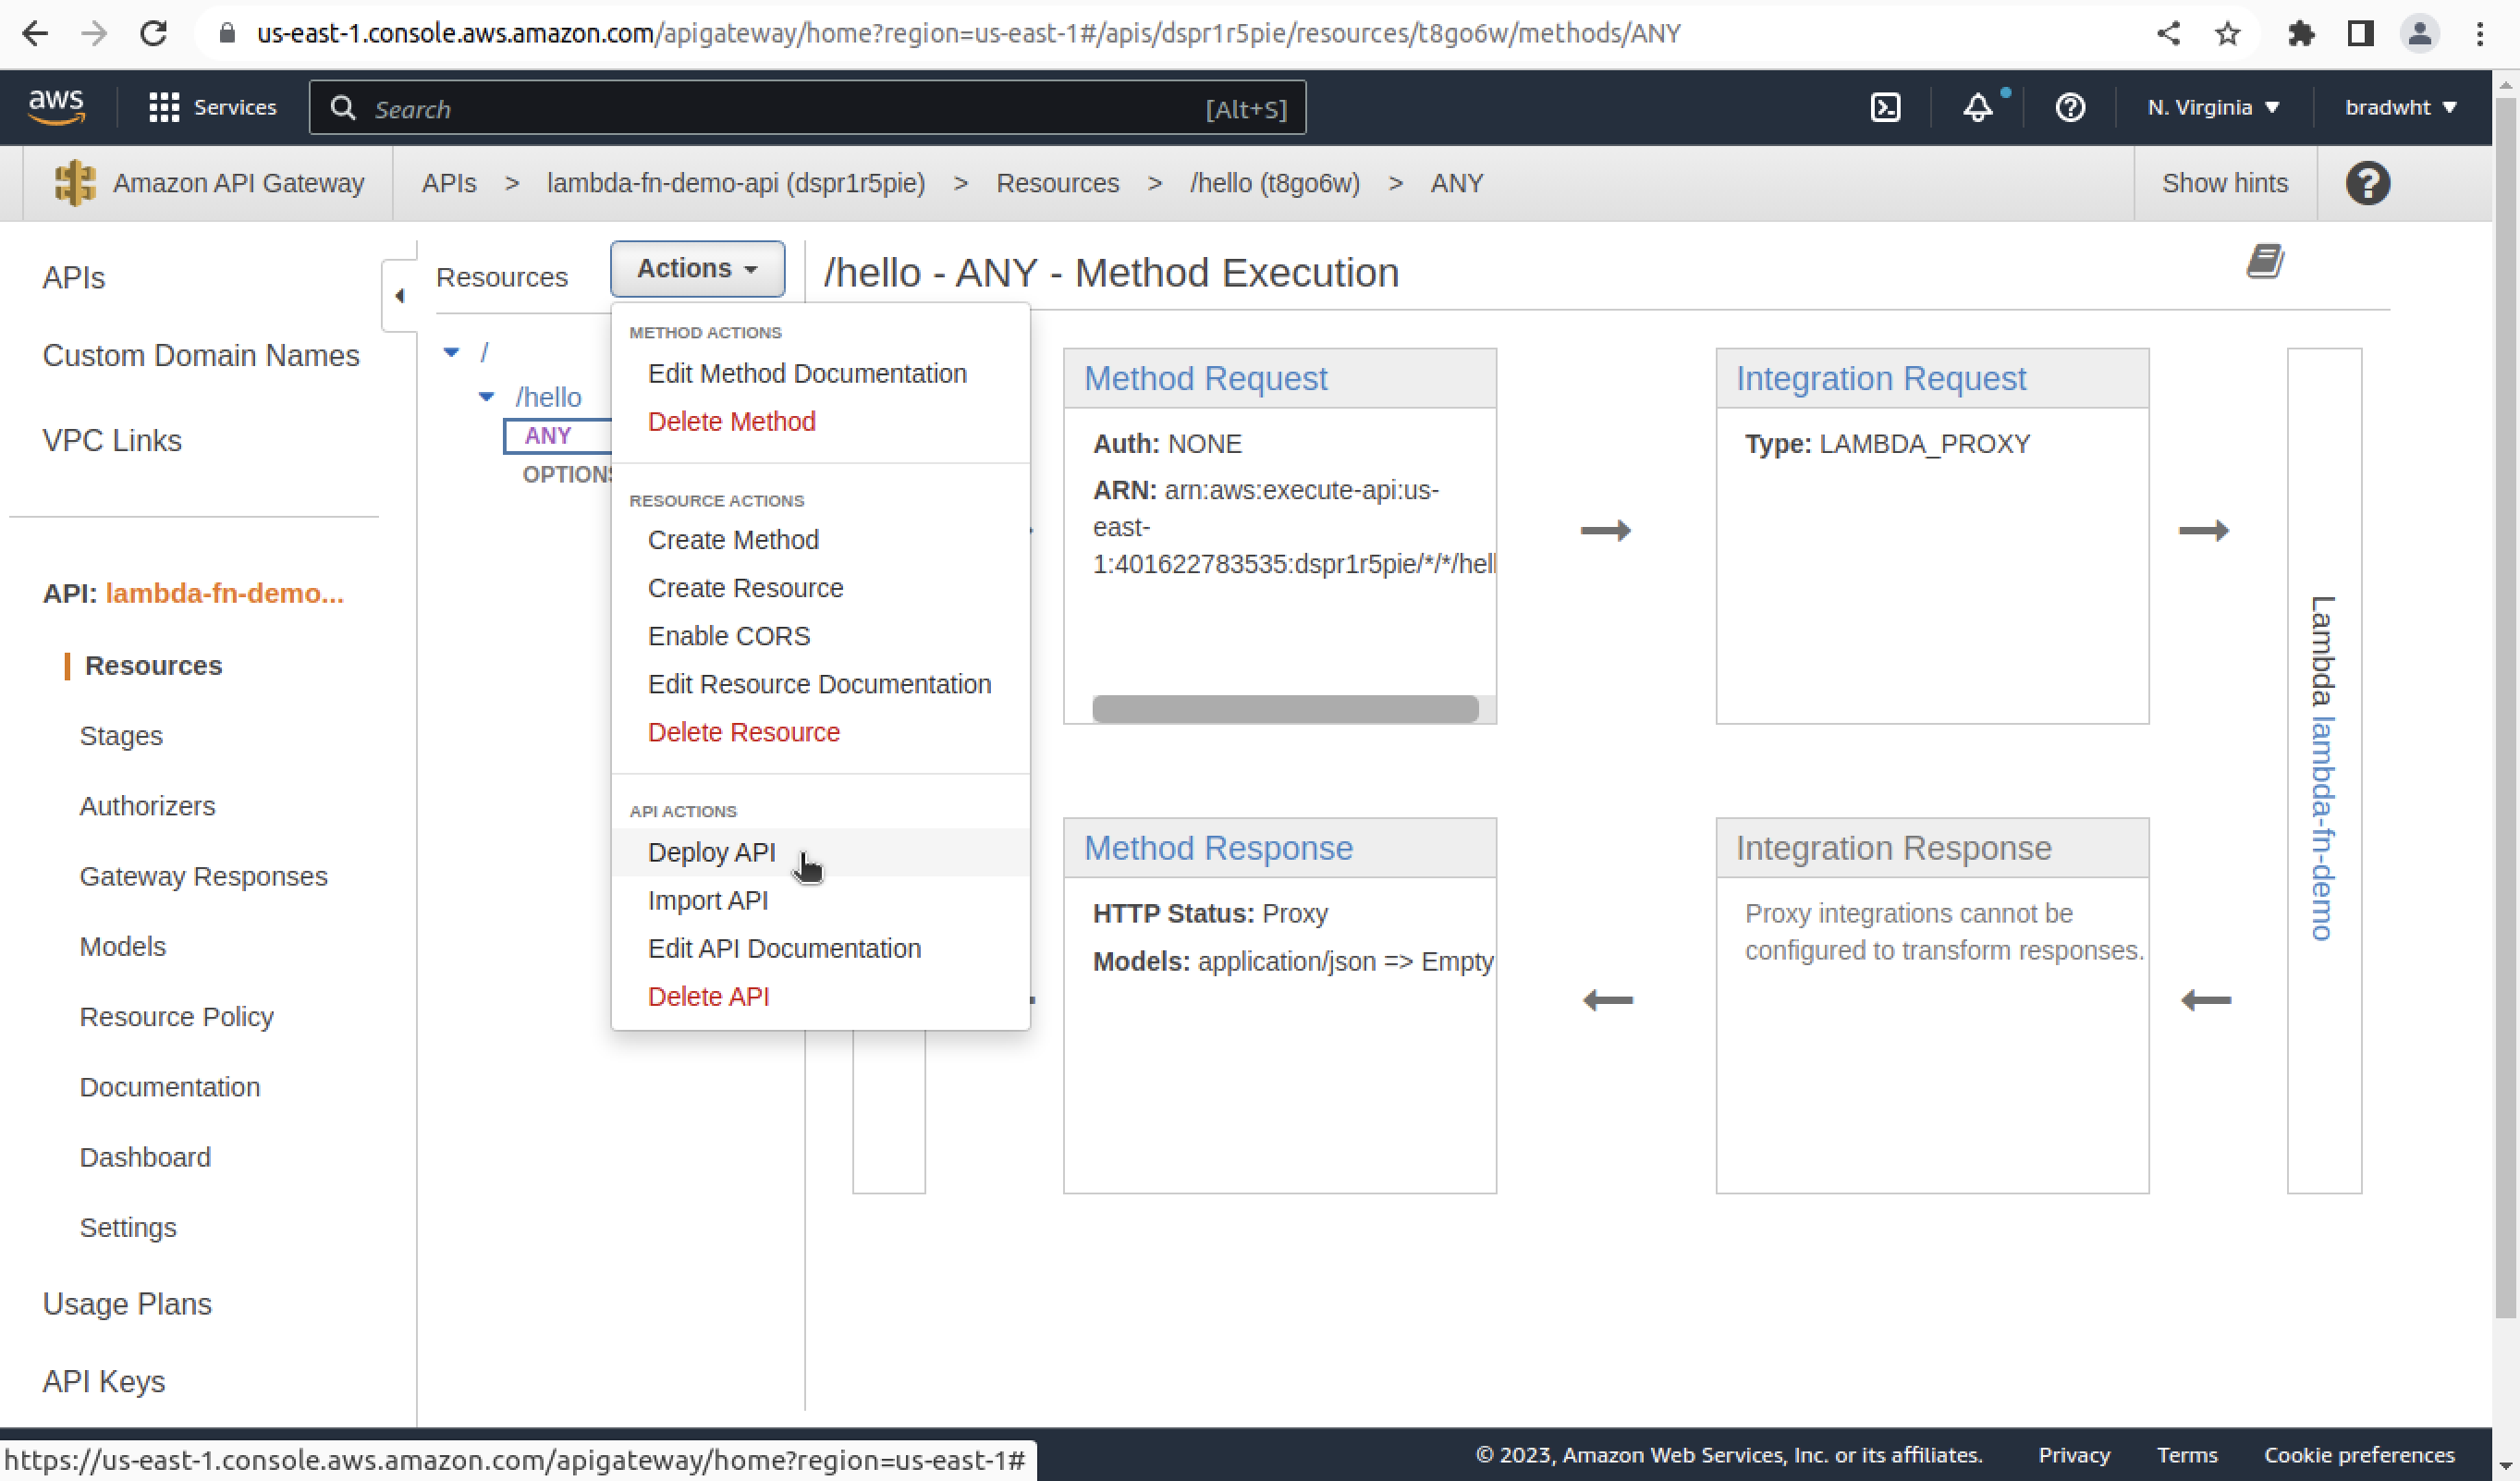
Deploying Our API
Next to resources click on the 'Actions' dropdown and the 'Deploy API' option.
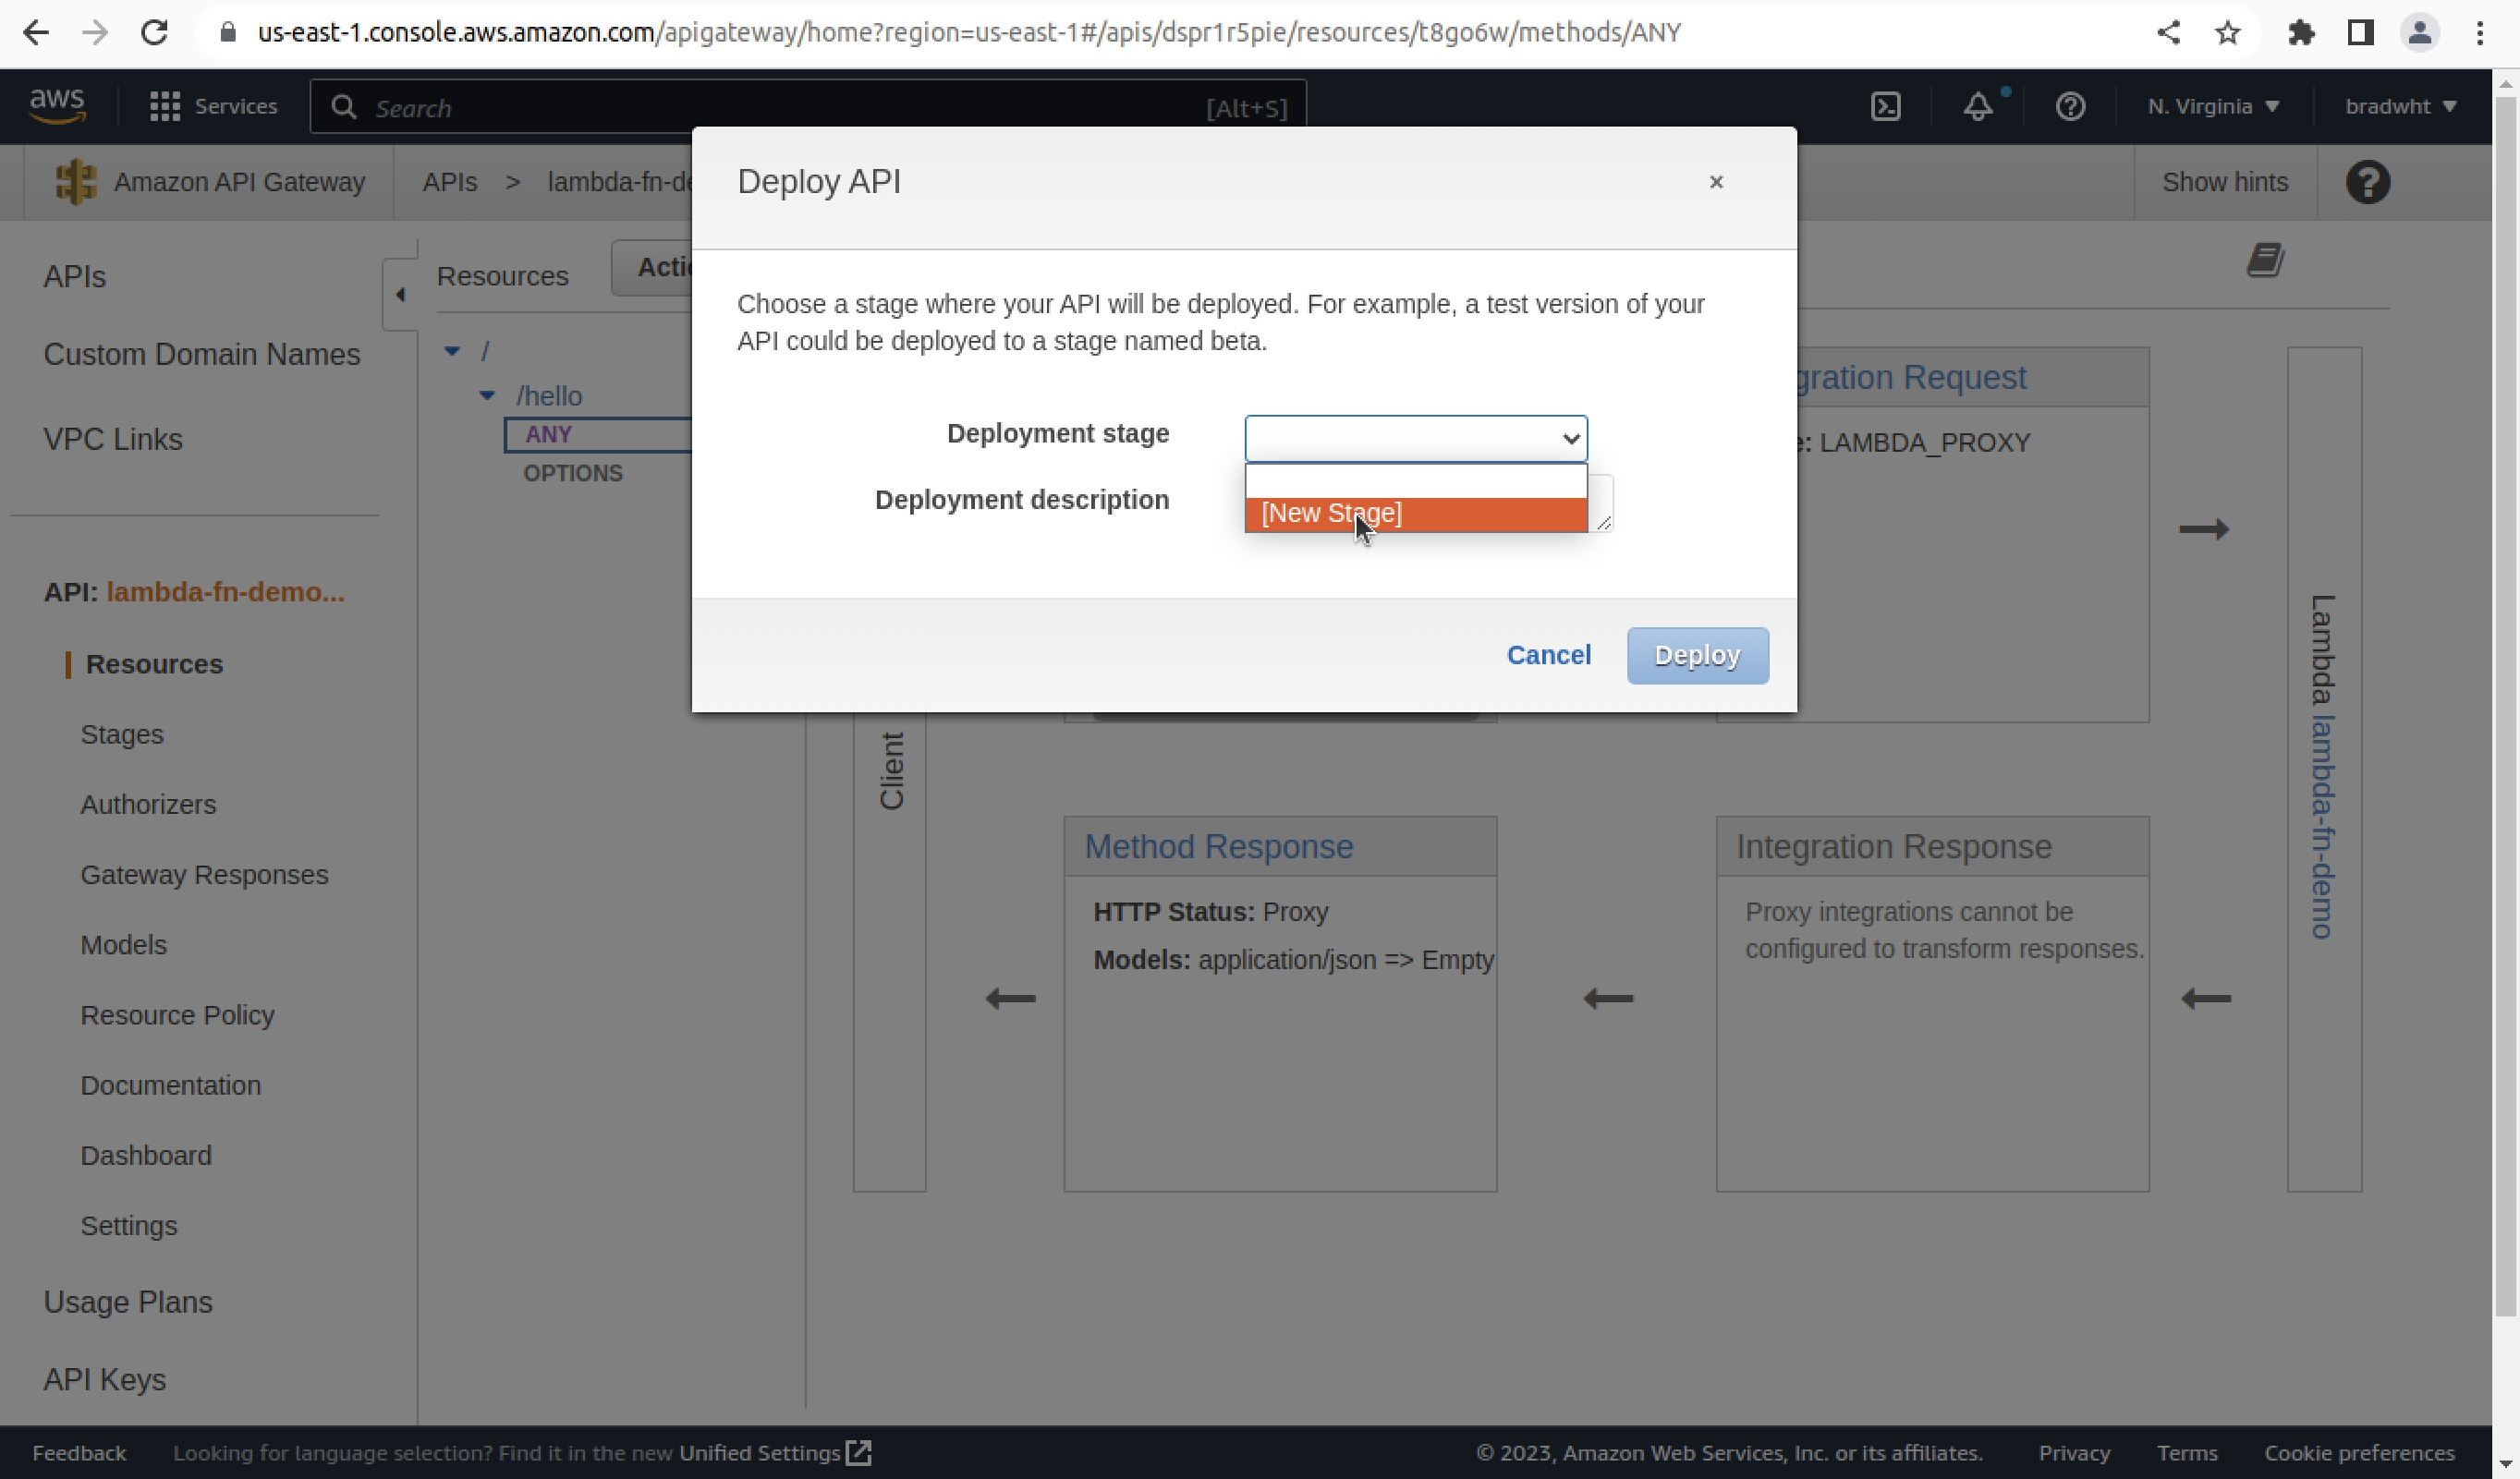
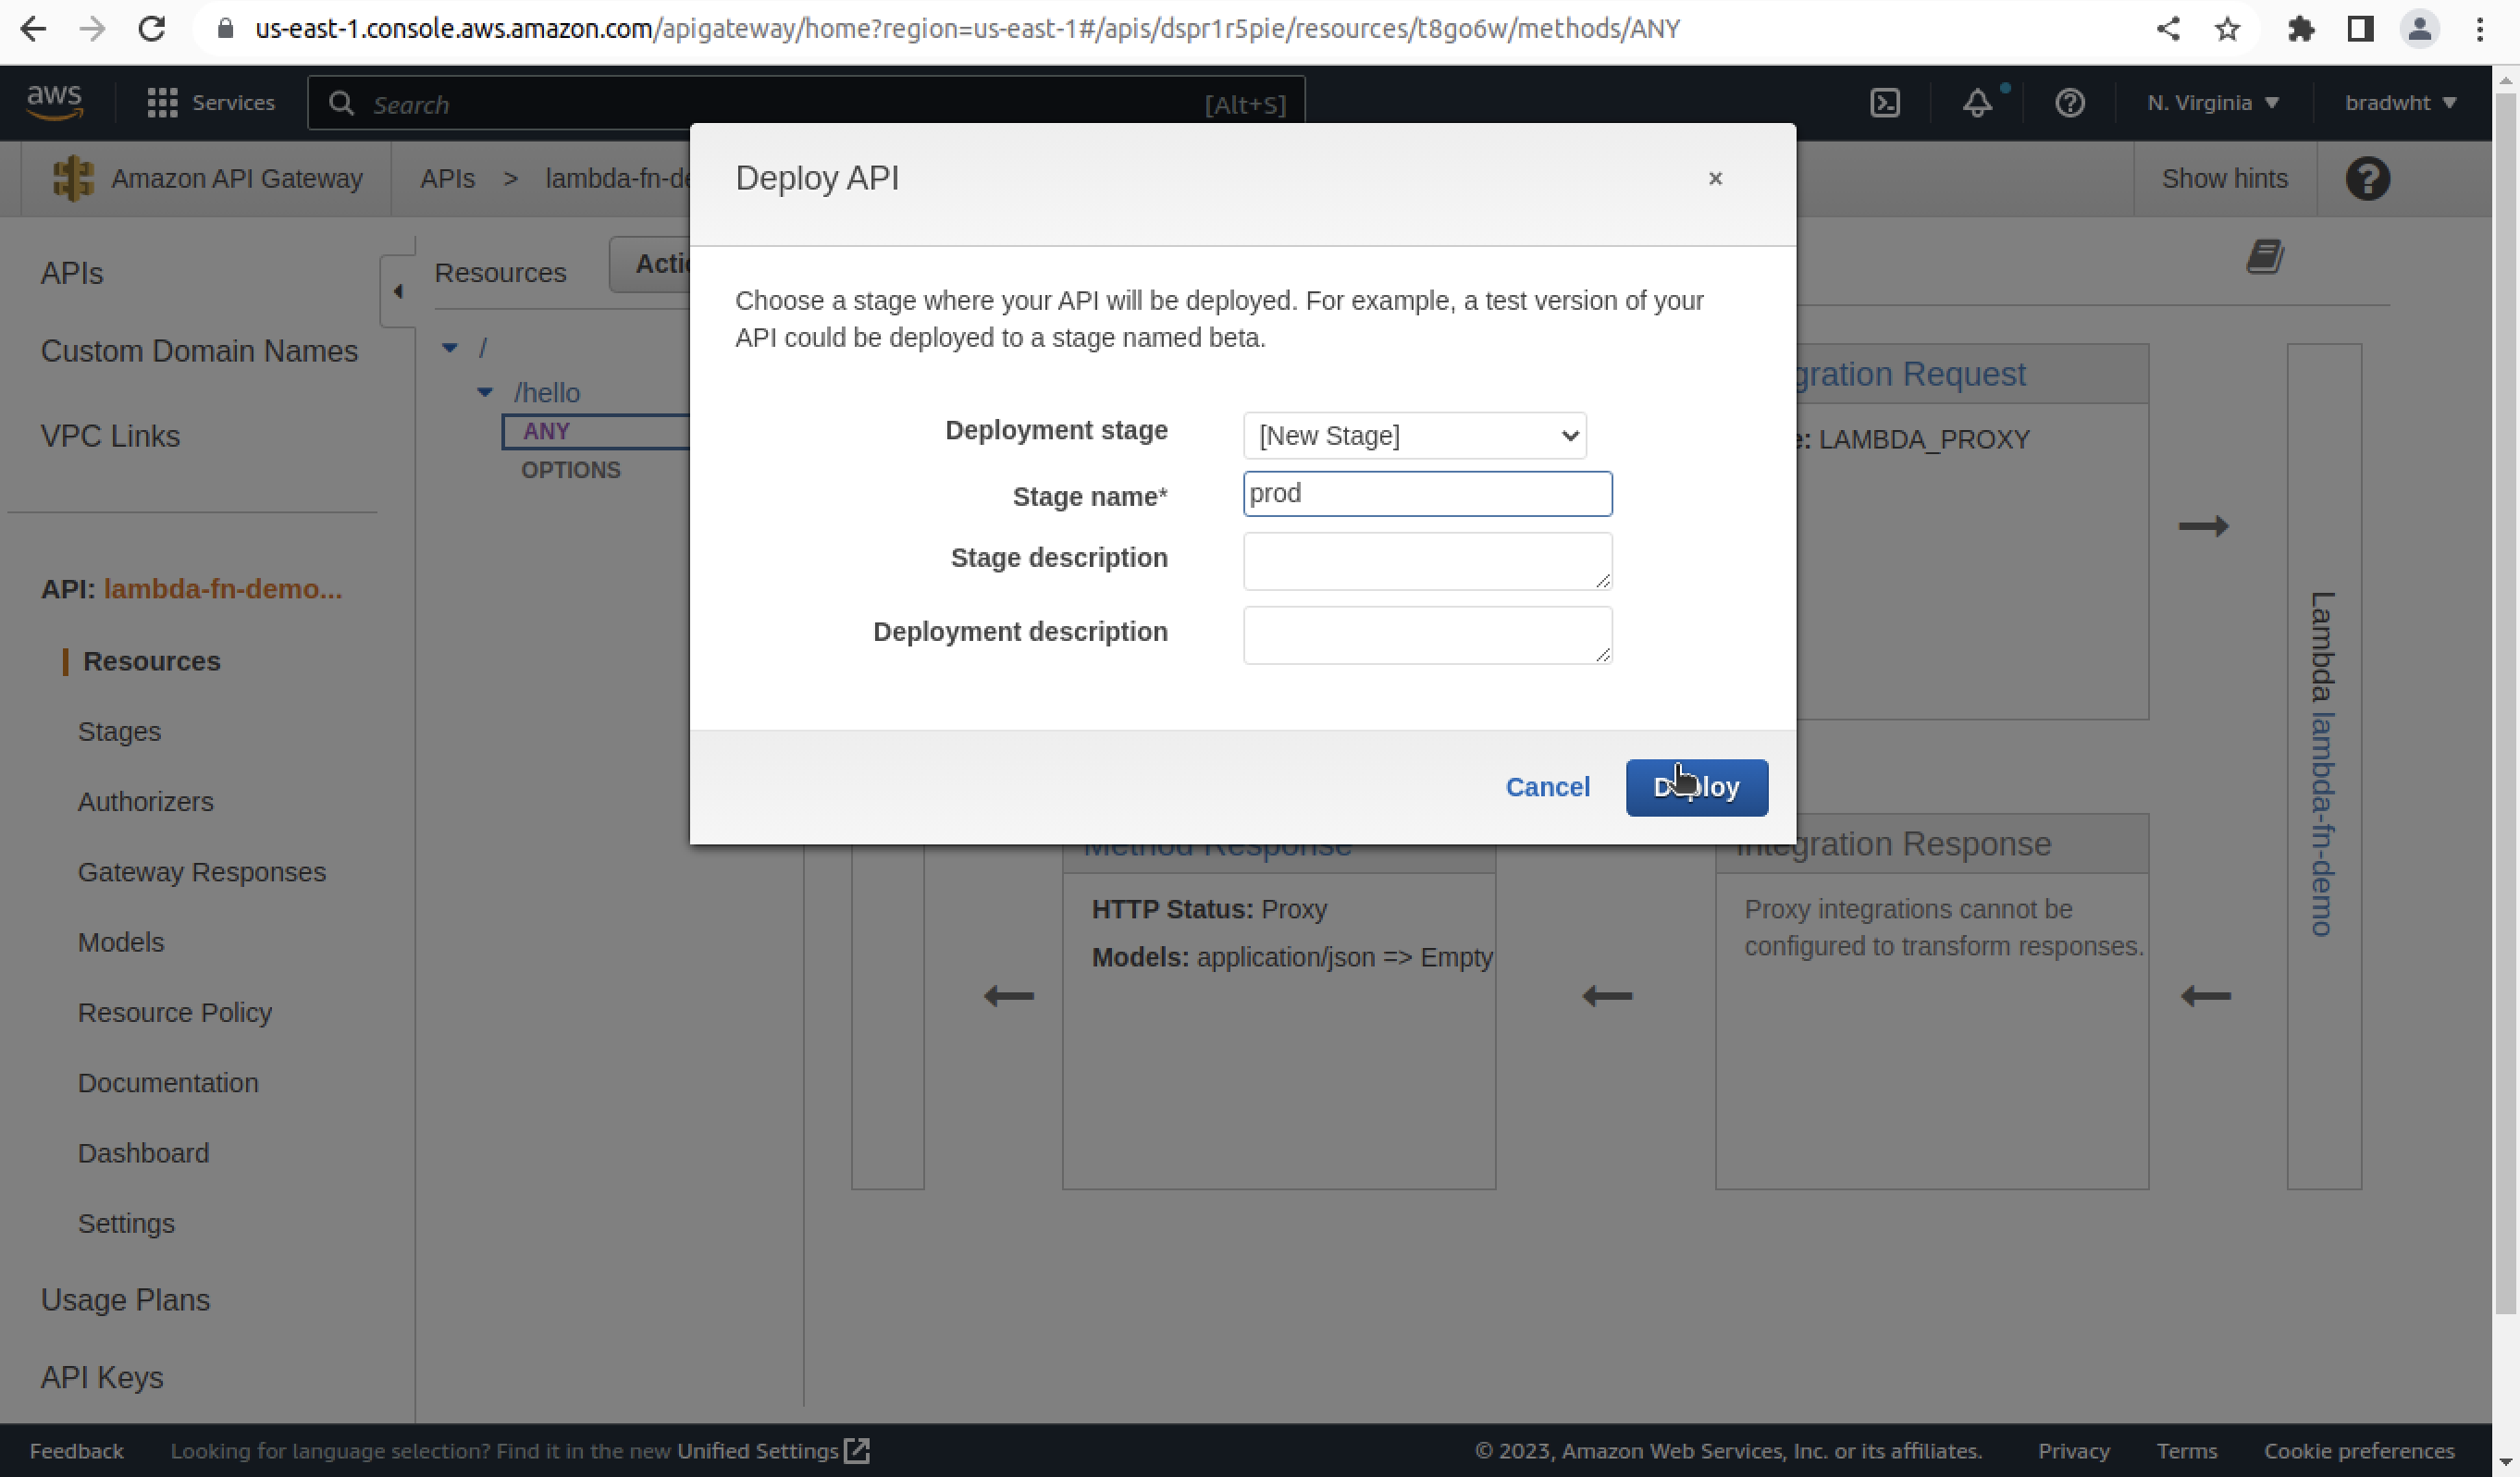
This will bring up a window. Click on the 'Deployment stage' dropdown and click on '[New Stage]'. Then set 'Stage name' to 'prod'.
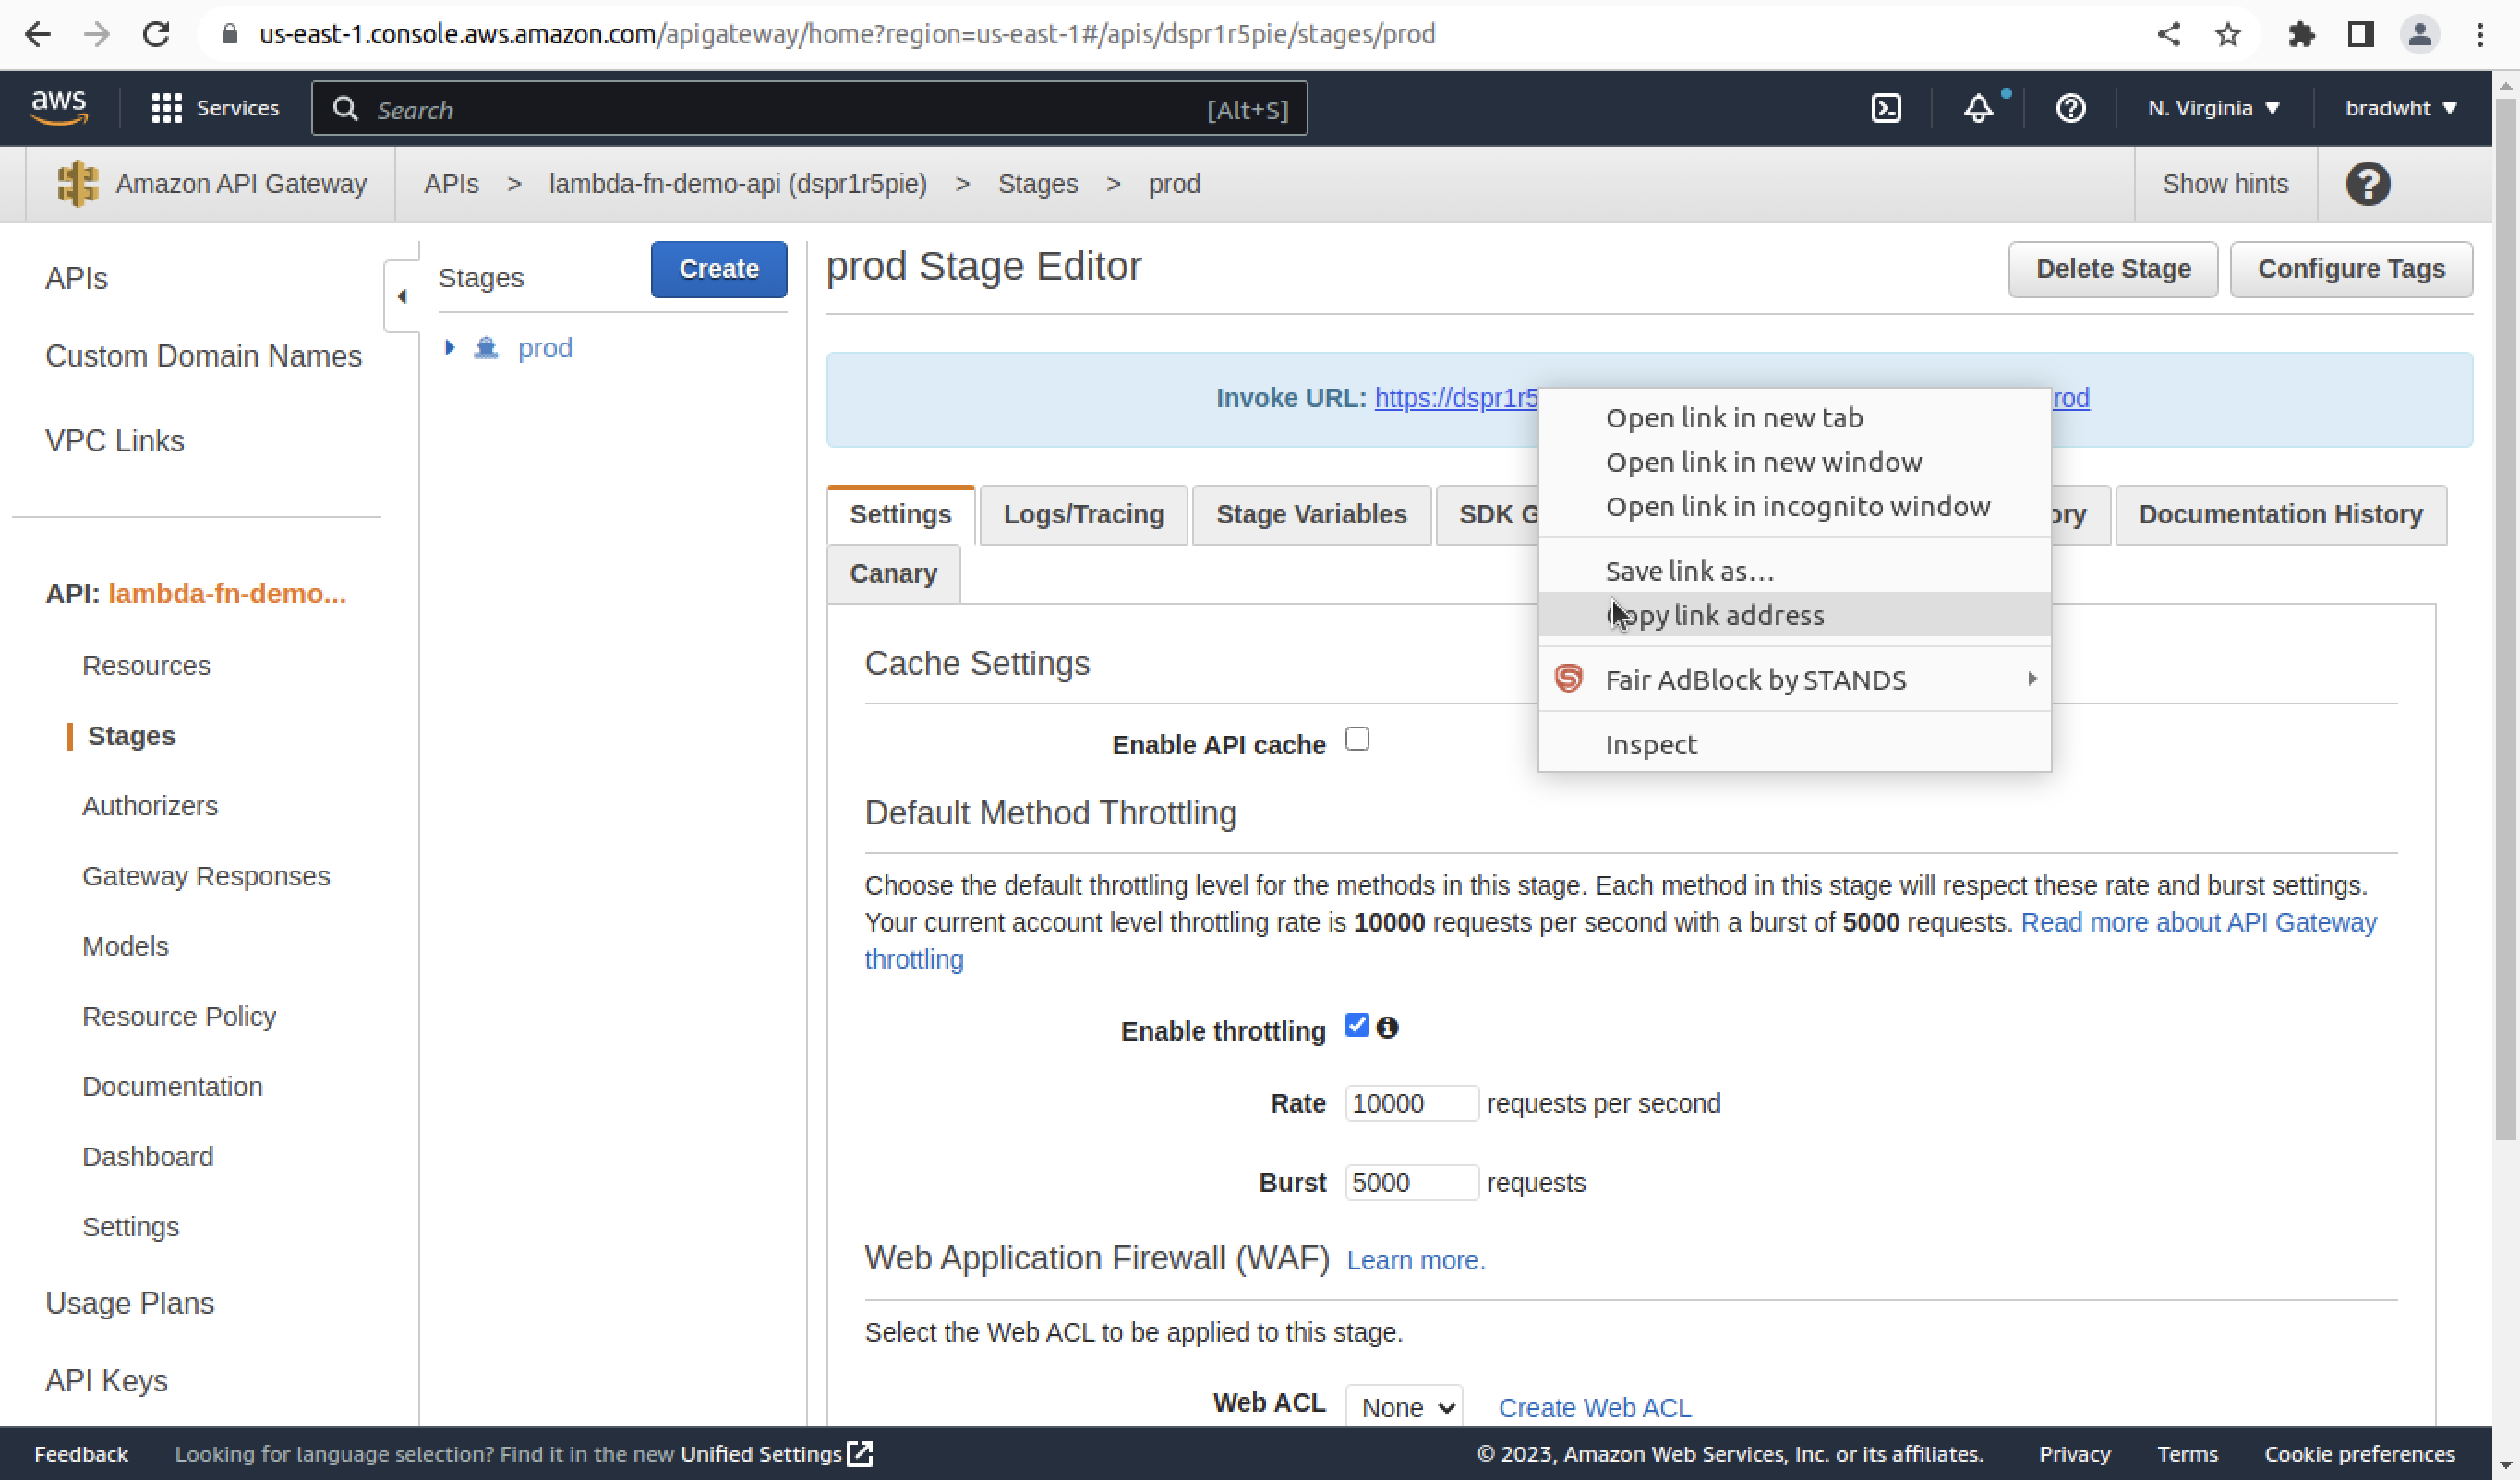
Testing Our API
Finally, it will open the stage editor page. Locate and copy the address of the 'Invoke URL'. This is the link to our API.
Paste the URL into a variable in the terminal:
API_URL=***YOUR_API_URL_HERE***To test our API we will use the following terminal command:
curl -d '{ "name": "Lambda" }' \
    -H 'Content-Type: application/json' \
    "${API_URL}/hello"
The terminal should display the following result:
{ "msg": "Hello Lambda" }There we have it. We've build a functioning Lambda Rest API. Now, all we have to do is interact with this API in the front end.